Introduction #
Having the ability to manage your cPanel passwords is very important. There are crucial situations where you may believe the account has been compromised and a password change can save you a lot of nerves and time. In this tutorial, we are going to talk about the “Password Modification” functionality and how you can use it to its full potential.
Accessing the Password Modification feature #
As with all other WHM control panel features you need to log into the WHM service for your VPS or Dedicated Server in order to access them. After you have logged in, please use the search field on the left side of the page and type “Password Modification”.
The control panel will show a single result. Click on it in order to land on the “Password Modification” page.

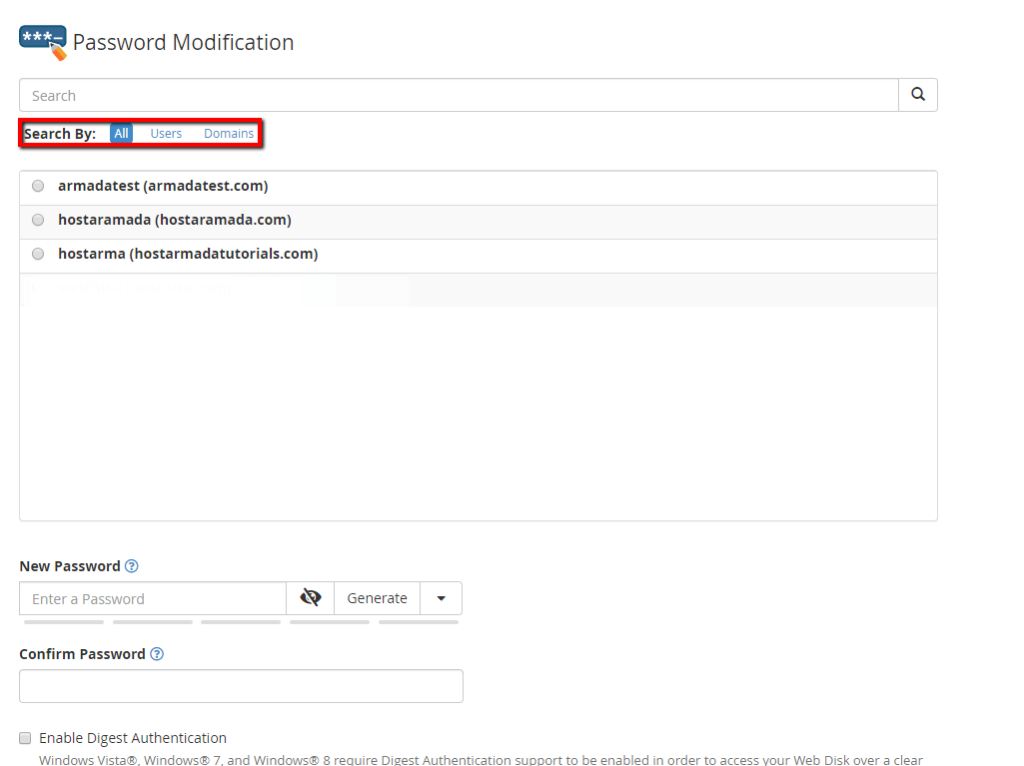
When you are on the correct page, you will see a search bar right on the top along with a way to filter the results based on the user, domains, or both.

Another thing you will notice is a section containing a list following the pattern username(domain.com) and a radio button right before the username. When you want to select an account, simply do so by clicking on the radio button which is located on the left side of the user, and then point your attention to the section “New Password” below. You can use the section to input your password or click on the “Generate” button so that WHM can provide you with a randomly generated string that you can then use as the account’s new password. When you have selected the desired password you need to confirm it by re-typing it in the “Confirm Password” section underneath the “New Password” field and then press the “Change Password” button on the bottom of the page.

That’s it! You have now managed to change the password of your cPanel account from the WHM Control Panel. If any problems arise, during the process, please let our Technical Support Crew know by submitting a ticket from your Client Area!


