Introduction #
Filtering emails with cPanel has never been that easy! No matter if you would like to stop receiving messages from someone or forward messages with a certain subject, cPanel got you covered. Thanks to the “Email Filters” functionality you will be able to easily create and manage email filters per email account without affecting other email accounts created for the domains associated with your web hosting account. In the next lines of this tutorial, we will provide you with detailed information on how to fully manage the “Email Filters” functionality in cPanel.
Accessing the Email Filters in cPanel #
In order to access any of the features, you will first have to login to the cPanel service.
When you log in, please look for the “Email Filters” feature either by using the Search tool provided at the top of the page or look for the “Email” features group, in which the “Email Filters” feature is located.
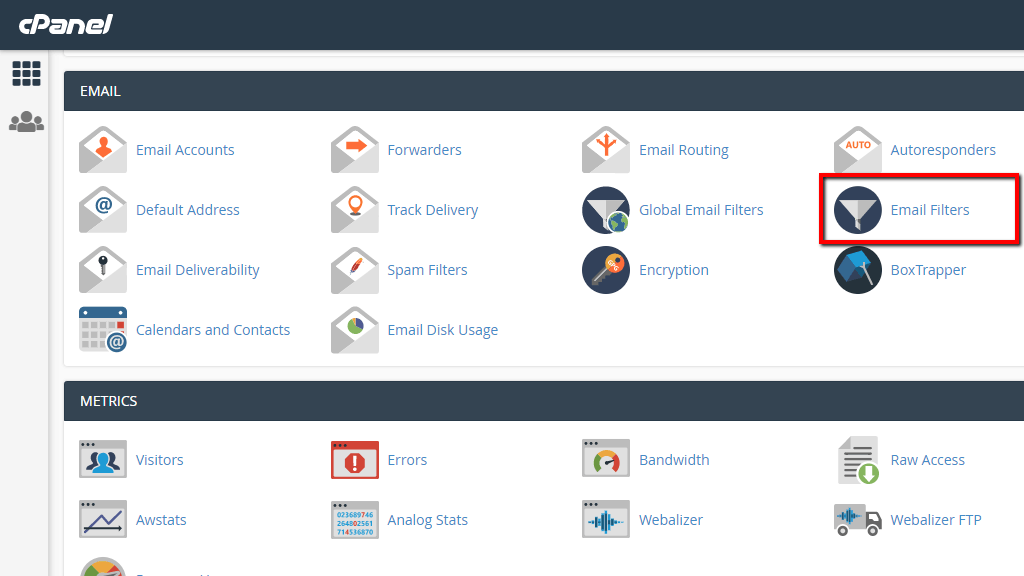
Clicking on the feature will redirect you to a brand new page called respectively “Email Filters“. From this point on in this tutorial, we will be referring to this page as the default page for the “Email Filters” feature.
Create a new Email Filter #
As we have mentioned the Email Filters are used to specify rules which will be applied to any incoming email associated with an existing email account. Therefore, to add a new Email Filter you will first have to choose the email account this filter will be added for. On the default “Email Filters” page you will see a table containing all of the email accounts you have currently created. From that table, please choose the email account you would like to manage the Email Filters for by simply clicking on the “Manage Filters” link displayed next to every email account in the table.

This action will redirect you to a brand new page where you will be able to further manage the email filters for the chosen email account.
To create a new Email Filter, please click on the “Create a New Filter” button displayed at the top part of the page.
< >
>
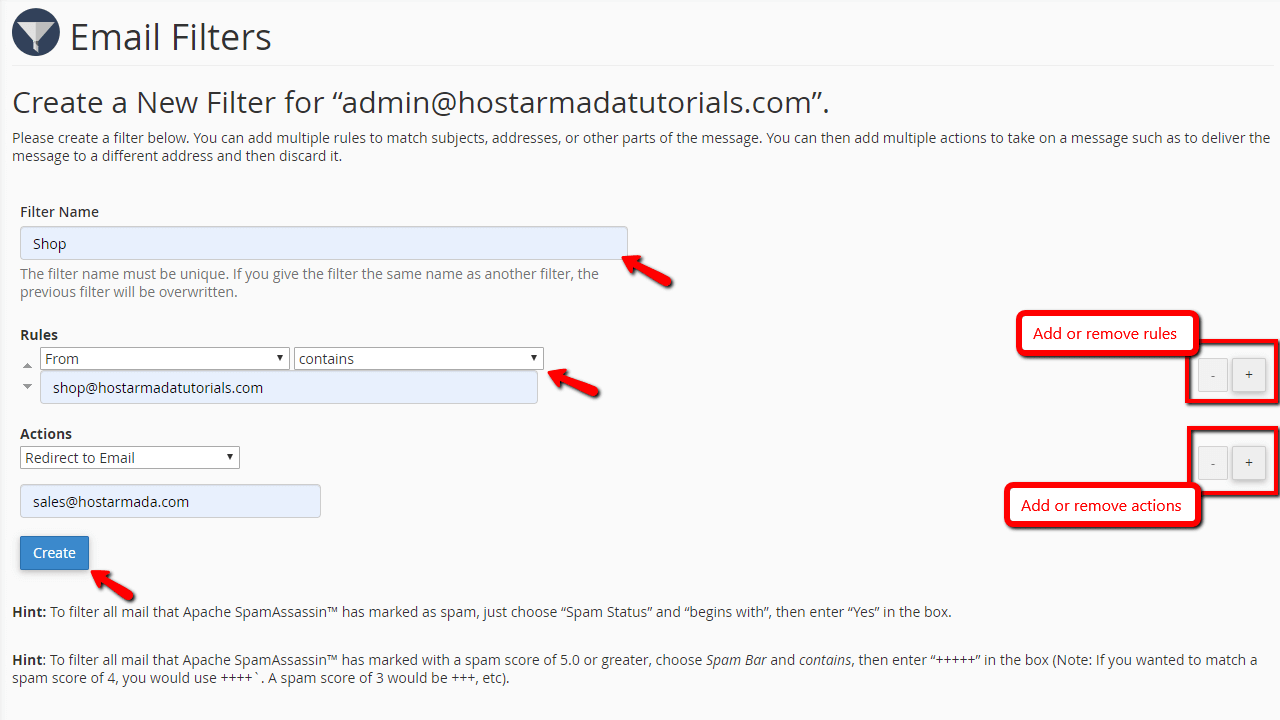
This action will redirect you to another page, where you will need to configure a few options for the email filter to be created. Let’s review these, one by one.
- Filter Name – The name of the filter will be used to identify the filter in the list of available filters for the concrete email account. Therefore, please configure it to be as detailed and explanatory as possible.
- Rules – Here is where you will need to define the rules that the email service will follow when using this filter. First of all, let us outline that you have as many filters as you would like to. If you would like to add a new filter or remove existing please use the “+” and “–” buttons in the right part of the filter’s configuration. Furthermore, to actually configure the filter you will have to choose from two fields and manually input the third one. We believe that the configuration of these fields should be done based on your needs so we will avoid explaining their meaning since they are pretty much self-explanatory.
- Actions – In this field, you will have to choose what action should the email service take with messages matching the filters you have configured in the previous configuration option. The available actions are as follows:
- Discard Message – This option will cause any message matching any of the configured filters to be discarded.
- Redirect to Email – This option will instruct the email service to redirect any messages matching the configured filters to a mail account that you specify.
- Fail with Message – Choosing this option will instruct the mails server to deny messages matching any of the configured filters and send a predefined message to the sender of the messages.
- Stop Processing Rules – This option will prevent any of the rules configured above to be avoided.
- Deliver to Folder – This option will instruct the mail server to send any messages matching the configured rules to a predefined folder.
- Pipe to a Program – This option will cause any messages matching the created filters to be sent to a script on your Web Hosting Account.
When you are ready configuring the available options, please click on the “Create” button displayed at the bottom of the page so your Email filter can be successfully created.
Once the filter is created cPanel will display a message of success or any error in case such is detected. With that, the creation of your email filter is completed.
Manage already existing Email Filters #
To manage an existing email filter you will need to once again access the filters for the chosen email account. A list of the configured filters will appear. Please note that the email filters will be ordered by the turn of their execution by the email server. The highest the location of the mail filter is with the bigger priority it will be processed.
To edit a mail filter, please click on the “Edit” button displayed in the right part of the filter’s block.

This action will redirect you to a familiar screen containing all the configurations that we have discussed in the previous section of this tutorial. The configurations will be already set so please feel free to edit those in order to achieve your goal. Once ready, please click on the “Save” button at the bottom of the page so the filter can be saved.
To delete an existing filter, please click on the “Delete” link which should be displayed right next to the “Edit” link.

cPanel will then ask you to confirm the deletion of the account by redirecting you to a new page and to do so, please click on the “Delete Filter” button. The filter will be then deleted and you will be able to return back to the Email Filters page for the selected email account.
Congratulations! You now know how to fully manage the email filters for separate email accounts. In case you face any difficulties doing so, please do not hesitate to contact our Technical Support Crew, so they can be able to further assist you with everything you will need.


