Introduction #
Keeping track of the installed SSL certificates on your server is useful as they have a certain validity based on the Certificate Authority that issued them. This period can last from 3 months to 3 years and when the certificate expires, your domain will start showing warnings rendering it fully inaccessible to your visitors.
The “Manage SSL Hosts” feature of the WHM control panel will show you all the installed SSL certificates for your domains on the server. Please note that if no SSL is installed on the server, this page will be empty.
We highly recommend checking our tutorials on How to Install an SSL and How to Generate a CSR in the WHM control panel if you want to understand the process of how to create a self-signed SSL certificate, how to generate a Certificate Signing Request allowing you to order an SSL from a trusted Certificate Authority and how to install it. Let’s begin the guide.
Accessing the Manage SSL Hosts feature #
First, you need to log into the WHM service for your VPS or Dedicated Server. After you have logged in, please use the search bar on the left side of the page and type “Manage SSL Hosts”.
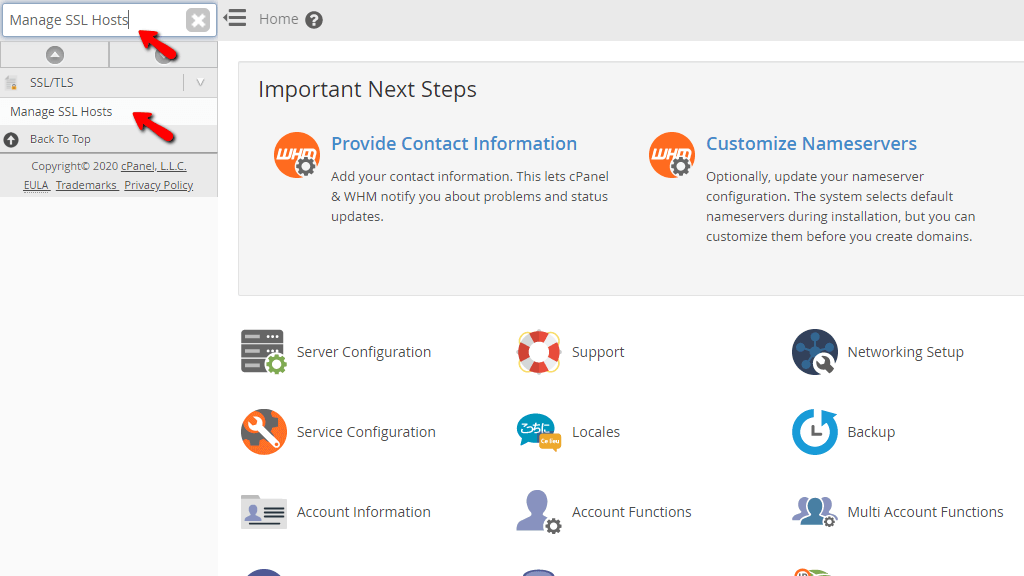
When the functionality shows up below the search bar, please click on it so you can be sent to the “Manage SSL Hosts” page.
Reviewing the SSL certificates on your server #
When you are redirected to the “Manage SSL Hosts” page you will see a table section showing all of the SSL certificates installed on the server. This will include both self-signed certificates and certificates issued by trusted Certificate Authorities. You will also find the following information about the SSL certificates.
- Domains – This column will show the domain/domains the installed SSL certificate is valid for.
- IP Address – This column will contain the IP address of the domain name. Typically, this is the server’s IP address unless there is a dedicated IP for this domain.
- IP Address Type – This will show what is the type of IP address. The variants here are two – “Shared” and “Dedicated”.
- Is Primary Website on IP Address – This column will show if the website is the designated primary website for HTTPS.
- Is SNI Required – In the past, in order to install an SSL certificate, a domain needed a dedicated IP address. This was because there was no technology that could let the web service (Apache) know which website is being requested BEFORE the TLS handshake. This caused Apache to serve the content of the requested website, however, it loaded the SSL certificate of the “Primary Website on IP Address” and this resulted in a warning. SNI is an extension to the Transport Layer Security (TLS) network protocol and what it does is to let the webserver know which website is being accessed BEFORE the TLS handshake allowing it to serve the content of that specific website and if an SSL is installed for it – load its content using its own SSL.
- Document Root – This will display the document root of the website on the server.
- Owner – This column will show the owner of the domain name. Usually, this will be the cPanel user.
- Issuer – This will show either the CA that issued the certificate or it will say “Self-Signed” which means that there is no CA bundle for it.
- Expires – This column will display the date on which the SSL certificate will expire.
- Key Strenght – This will show the size of the private key in bits.
- Actions – The last column will contain two links – “Delete” and “Make Primary”. Pressing the “Delete” link will delete the certificate from the server. Pressing the “Make Primary” link will make the website the primary site on the IP address.

This concludes our tutorial regarding the “Manage SSL Hosts” inside the WHM control panel. We hope that we explained all of the information inside and you are now able to better understand all SSL components and how it works. If you have any questions regarding this functionality or SSL certificates in general, please feel free to submit a support ticket. You may do that via the Client Area – our Technical Support Team is available 24/7.


