Introduction #
After initially installing WordPress, there are several must-do things before you focus on creating your content. Even though you might think WordPress is pre-configured and ready to use, which is partially true, you still need to take a few fundamental steps.
In order to tune your WordPress application to meet your individual requirements and ensure the proper functionality of your website, you might want to take a moment and review its general settings.
In this tutorial, you will find a comprehensive explanation of every WordPress setting and learn how to effectively control your website.
Getting Started #
For a start, please log into your WordPress Admin Dashboard. You can do that by accessing your domain followed by “/wp-admin“, i.e., “yourdomain.com/wp-admin“, where “yourdomain.com” stands for your actual domain name.
Once logged, please navigate through the left-hand side menu bar to Settings > General.
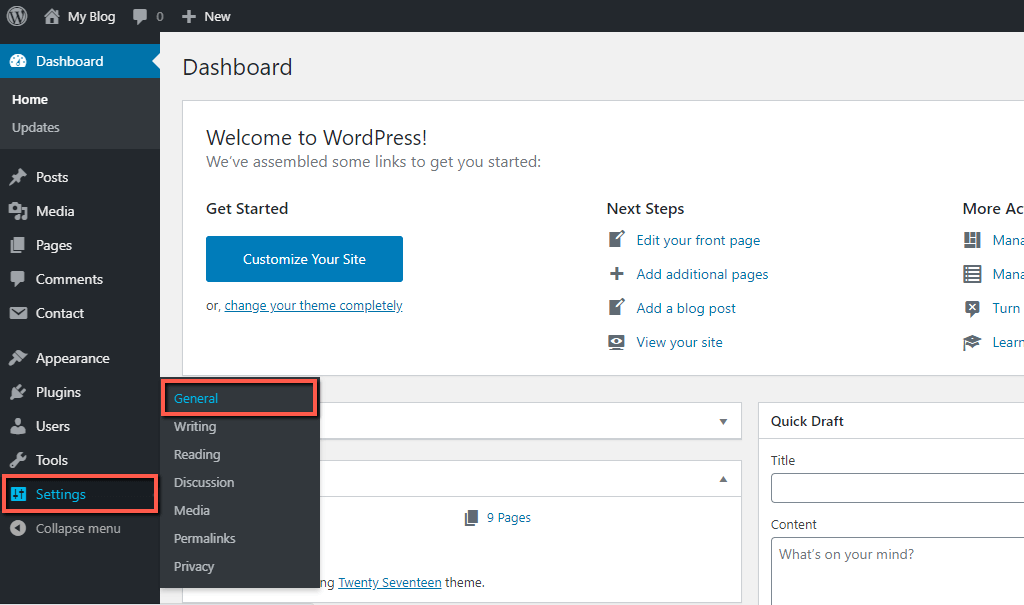
Upon doing that, you will be redirected to the “General Settings” section, where you can start the configuration.
Configuring General Settings #
Now that you are on the intended page, we are ready to begin. We will make sure to explain each of the settings as thoroughly as possible and ensure you can fully understand what you can control.
Site Title and Tagline #
The “Site Title” is the main heading of your website. Typically, it is displayed at the header of your website pages and in the browser title bar. Please note that depending on the theme you are using, the usage of the site title may vary. Generally, you should enter your business name or something outlining your brand.
The “Tagline” is intended for your slogan, idea, or something defining your website. It is typically displayed beneath the site title in smaller font size. Similar to the site title, it depends on your WordPress theme, where exactly the tagline will be displayed.

Site URLs #
The “WordPress Address (URL)” indicates the full URL address of the directory under which the WordPress core files are stored. For example, if WordPress is installed within the root directory of the domain name, the URL will be “http://yourdomain.com”. Alternatively, if WordPress is installed in a subdirectory, e.g., “blog”, the URL will be “http://yourdomain.com/blog”.
The “Site Address (URL)” indicates the actual URL address of your website. In other words, the address people will need to enter in order to access your website. It also depends on the root directory of the WordPress core files.
Typically, both of the URL will be the same. We will not recommend you to make any changes to the URLs, as this will require additional configuration. Note that any inappropriate changes applied to those URL addresses may lead to the inaccessibility of your website.

Administration Email Address #
The “Administration Email Address” is the primary email address of your WordPress website. It used as a recipient of all administration and maintenance update notifications generated by WordPress. Note that even though it probably matches your admin email address, it is used for different purposes.

Membership and Default User Role #
The “Membership” checkbox lets you control who to be able to register on your WordPress website. If you tick the box, no restriction will be applied, and all your visitors will be allowed to register. Due to security reasons, we will advise you not to enable it.
The “New User Default Role” determines the default role preassigned for all newly registered members or created users.

Site Language and Timezone #
From the “Site Language” dropdown menu, you can select the desired language for your WordPress Admin Dashboard.
From the “Timezone” dropdown, you may select the city representing the corresponding timezone for your website. In case you cannot find the required city, you can always choose one of the UTC format options.
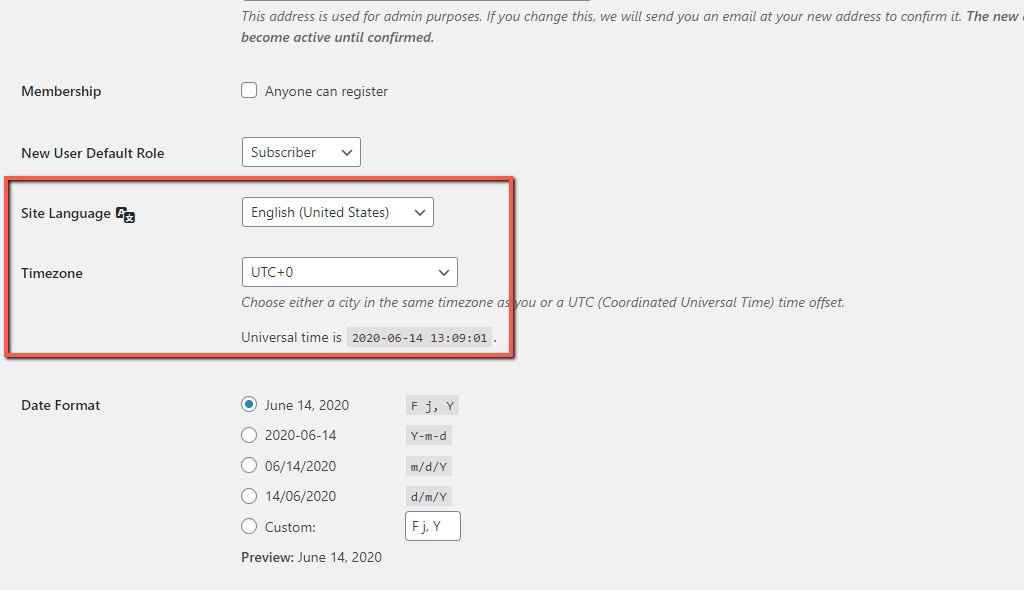
Date Format, Time Format, and Start Weekday #
The “Date Format” setting lets you choose the desired format in which dates to be displayed on the website frontend. Please note that your selection here does not affect how dates are shown in the Admin Dashboard.
The “Time Format” works similarly. Your selection determines how time is going to be displayed on the website frontend, but will not affect the Admin Dashboard.
The “Week Starts On” determines which will be considered as the first in the WordPress calendars. The day selected will be shown in the first column of the monthly calendar.

When you alter all settings as desired, please do not forget to click on the “Save Changes” button to apply them.
With this done, you have learned how to configure the General Settings of your WordPress-based website. We hope the information provided in this tutorial will help you tune up everything as required to meet the specific needs of your project.


