Introduction #
WHM is the industry-leading hosting platform of choice for the majority of the Web Hosting providers out there. Because of that, there are a lot of third-party services that have been specifically designed to interact with WHM and can easily be integrated and used through the control panel. In this tutorial, we will be discussing the “Manage Plugins” feature and the options you have in terms of plugins that can be installed. Let’s begin.
Accessing the Manage Plugins feature #
First, you need to log into the WHM service for your VPS or Dedicated Server. After you have logged in, please use the search bar on the left side of the page and type “Manage Plugins”.

When the functionality shows up below the search bar, please click on it so you can be sent to the “Manage Plugins” page.
Installing a plugin #
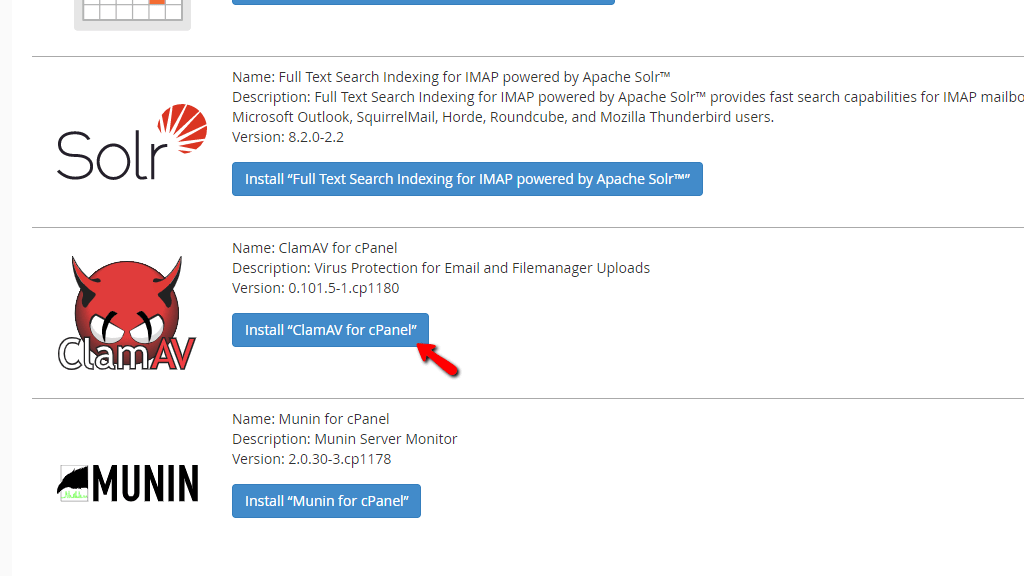
When you land there, you will notice a couple of sections each of which will represent a plugin that you can install for your server. There will be a brief description of the plugin itself along with a big blue “Install” button underneath. In order to install the plugin, please press the button in question in the section of the plugin you want to install. For example, we will be installing the ClamAV plugin so we can guide you through the process. ClamAV is a virus protection service for email and FileManager uploads.
When you press the install button, you will see the button turning into a spinning loader. Under this spinning loader, you will see a message letting you know that installation is in progress. Below it, you will see an actual log that displays installation output until the process is complete. The last message inside this log should be “The system has completed the installation of the “cpanel-clamav” plugin.”.

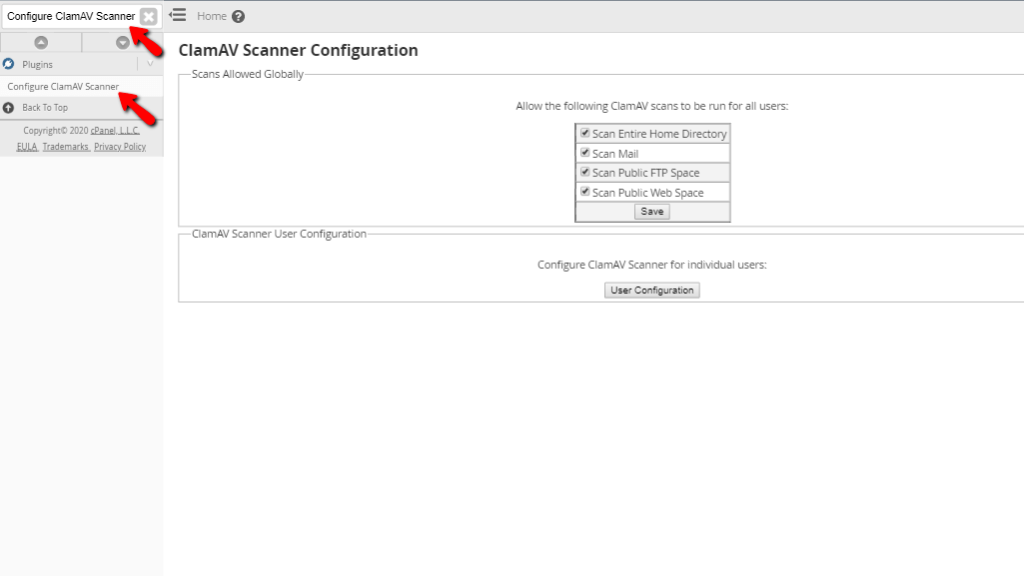
When you see the output mentioned above, please navigate to the search bar you used earlier to go to the “Manage Plugins” feature and type in “Configure ClamAV Scanner”. A single result should be provided and by clicking it, you will be sent to the plugin’s configuration page.
The uninstallation is analogic to the installation itself. When you press the “Uninstall” button, the same process will repeat itself. The result you should be looking at the end of the log file should be “The system has completed the removal of the “cpanel-clamav” plugin.”.

And there you have it! There is really nothing complicated about this and is really straightforward. Should you face any issues when attempting to install or uninstall a plugin from this WHM feature, please, do not hesitate to contact our Technical Team over the ticking system in our Client Area!


