Introduction #
Secure Sockets Layer (SSL) is a conventional security technology used to establish encryption between a server and a client. Usually, the server is the web service (Apache) which serves the content to the visitor’s browser, in this case, the client.
Having an SSL for your domain will allow sensitive information such as social security numbers, login credentials, and credit card numbers to be dispatched securely. Typically, the information exchanged between the browser and the webserver is sent in plain text, leaving an open gap for ill intent. Hackers can exploit this gap to see the data and then use it to compromise your accounts and credit cards.
We highly recommend installing an SSL for all your domains on the server, especially the ones which have a webshop running on them. Having an SSL will allow the clients to use your online store with confidence without worrying that the information they provide will be eavesdropped upon.
In this tutorial, we are going to go over the “Install an SSL Certificate on a Domain” feature in the WHM control panel. It will allow you to install an SSL certificate for any of the domains that are added to the server. We recommend taking a look at our Generate a CSR tutorial in order to understand how to generate a CSR, which in turn will allow you to order an SSL certificate from a Certificate Authority (CA). Let’s get started!
Accessing the Install an SSL Certificate on a Domain feature #
First, you need to log into the WHM service for your VPS or Dedicated Server. After you have logged in, please use the search bar on the left side of the page and type “Install an SSL Certificate on a Domain”.
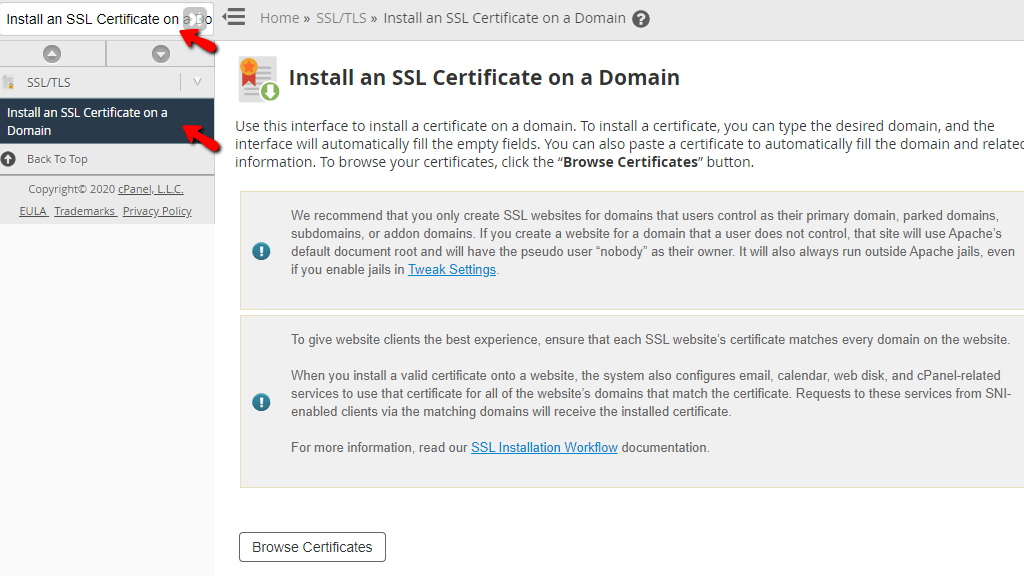
When the functionality shows up below the search bar, please click on it so you can be sent to the “Install an SSL Certificate on a Domain” page.
Installing an SSL for a domain on the server #
When you are redirected to the “Install an SSL Certificate on a Domain” page you will see a brief description of the feature. If you scroll down a bit, you will notice the “Browse Certificates” button. This functionality can be used to install an SSL for a domain you own, which is added to the server.
When you press the “Browse Certificates” button, a popup window will show up which contains a table section listing all of the certificates on the server.

You may select one of them using the radio button located on the left side of the table section. In addition to that, you will find the following information within the popup window:
- Domains – This column will display the domain for which this certificate has been issued.
- Issuer – In this column, you will find who is the CA that issued the certificate. If it is not issued by a trusted CA, it will be labeled as “Self-Signed”.
- Expiration – This will show the date when the certificate expires. Usually, an SSL is generated with a specified validity. This period is based on the Certificate Authority the SSL certificate was ordered from.
- Description – This will contain a description of the SSL certificate. Typically, you will find the domain name or the server hostname the SSL is issued for.
When you select an SSL certificate from the provided list in the popup window, please press the “Use Certificate” button located on the bottom left side of the popup window. If you would like to install a new SSL certificate, please click the “Cancel” link located on the right side of the “Use Certificate” button. This will close the popup window and take you back to the “Install an SSL Certificate on a Domain” page.

Underneath the “Browser Certificates” button you will find a text field. Please type the domain on the server you want to install an SSL certificate for. On the right side of the text field, you will find the “Autofill by Domain” button. This button can be used in order to generate a certificate, private key, and a CA bundle for the domain if an SSL certificate is already installed on your server for this specific domain. If this is not the case, then this button will not do anything.

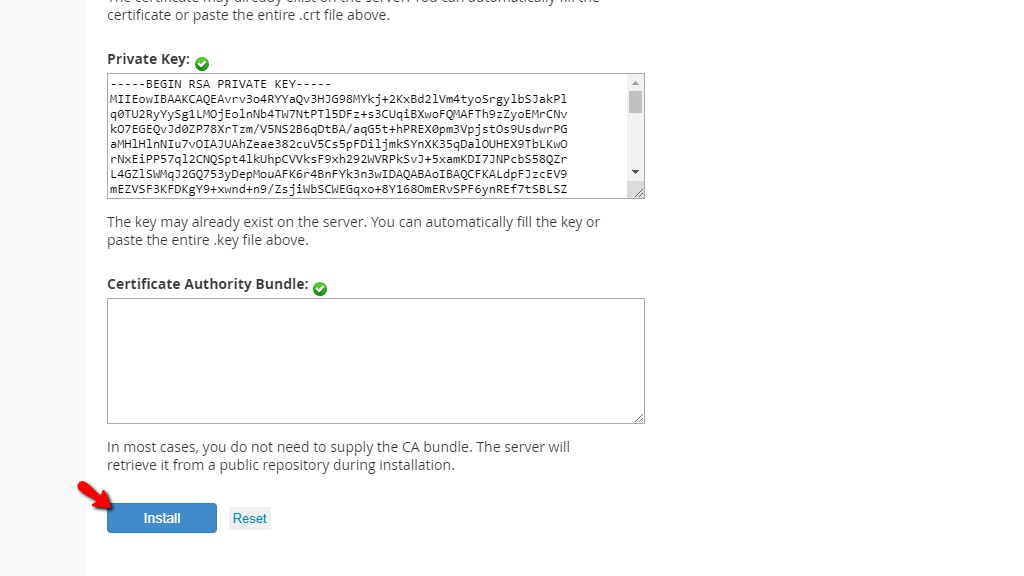
In the case, we are showing on the screenshots, we have pressed the “Autofill by Domain” button and this generated the SSL certificate (which is self-signed) and the private key. The CA bundle will be missing, given the fact that it is a self-signed SSL certificate and no trusted Certificate Authority issued it.
When you have an SSL certificate issued by a trusted CA, please enter the “Certificate”, “Private Key” and the “Certificate Authority Bundle” within the designated content boxes.

Once the above-mentioned content boxes are field with the required information, in order to install an SSL, please press the “Install” button located on the bottom of the page.
This will then show a popup window informing you that the SSL certificate was successfully installed for the requested domain.
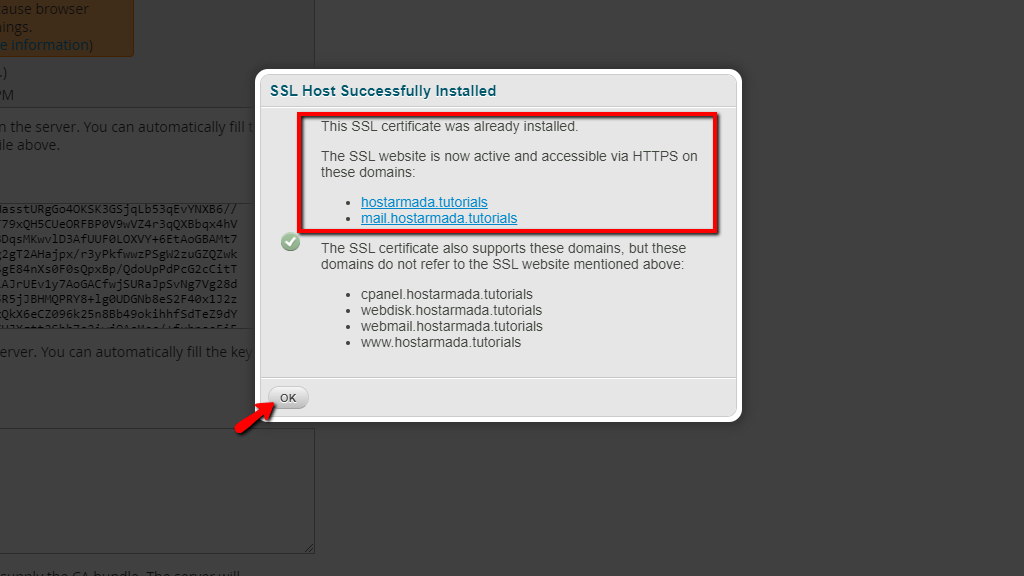
Please press the “OK” button located on the bottom left side of the pop-up window to return to the “Install an SSL Certificate on a Domain” page.
This sums up the guide about the “Install an SSL Certificate on a Domain” feature in the WHM control panel. It’s a pretty straightforward process if you have the parts of the SSL certificate – the SSL certificate itself, the Private Key, and the CA Bundle. If you are unable to install an SSL certificate using this functionality, please do not hesitate to contact our Technical Team. They are 24/7 available reachable through the ticketing system in your Client Area.


