Introduction #
A subdirectory is the part of the url that houses a specific subset of content. If websites were like a filing cabinet, the folders within the cabinet would be your site’s subdirectories. It is crucial to keep in mind that Individual directories are to the right of the domain.
Here is an example: www.example.com/blog or www.example.net/shop
The subdirectories here would be “blog” and “shop,” where the “/” signifies the subdirectory status listed under the website.
What are the benefits of using a sub-directory for your WordPress? #
The main reason for setting up your WordPress on a sub-directory is that you will have an easier time running multiple WordPress instances under the same domain name. This can all be accomplished without affecting the actual domain you are creating the subdirectory in. Just like that, you can have multiple websites on the same domain name, and on top of that, you have also managed to save a few bucks by not having to purchase an additional domain name, which is excellent when you are running on a smaller budget. That way, you can have several online projects associated with your domain name.
To clarify: You would host your blog at www.yoursite.com/blog and then host your online shop at www.yoursite.com/shop
This has some SEO benefits for the domain name itself and makes things easier to manage while consolidating your brand!
How to install WordPress in a sub-directory? #
Now, given the information listed, would you like to install WordPress in a subdirectory? If so, please allow HostArmada to provide you with the instructions on how to safely and efficiently complete such an installation.
Let’s begin!
Step 1. Please access your cPanel through a direct url or via your client area!
You can check this HostArmada cPanel tutorial if you are having issues with that.
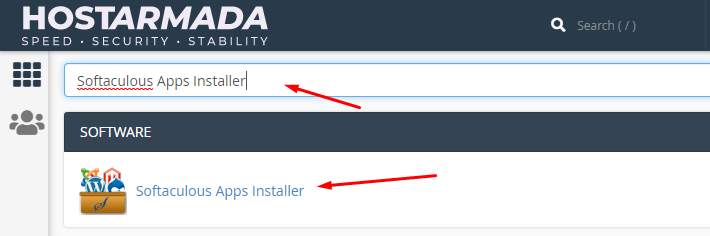
Step 2. In the cPanel search field, type down “Softaculous Apps Installer” and click on the single result you will be presented with.
Step 3. Inside Softaculous Apps Installer, please locate the search bar and type down “WordPress” and then click it.

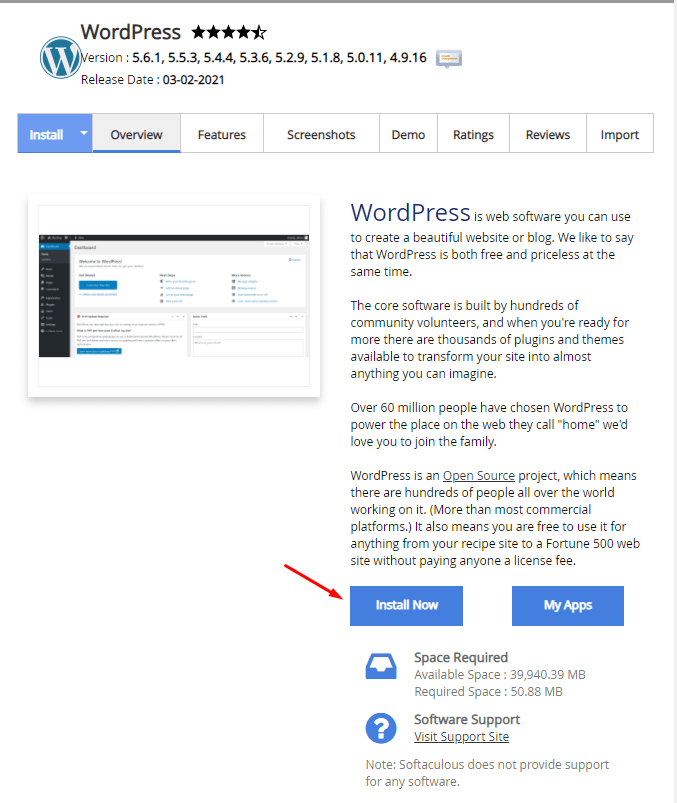
Step 4. Once the next page has loaded, displaying the WordPress application summary page, you can click on “Install Now”.
Step 5. This will prompt the WordPress installation process. Here you must select the domain name you want to install the sub-directory in, and then in the field “In Directory” you have to type down the name of the subdirectory that you’d like to use.

Here is a breakdown in case you require further elaboration on the separate sections:
- Choose Domain – From this dropdown menu, you will need to select the domain name you would like the installation to be performed onto
- Choose the Version you want to Install – Here you can select from the list of available WordPress versions for your installation.
- Choose Protocol – From this dropdown menu, you will need to determine the protocol for the installation. Please note that the secure HTTPS protocol to function properly requires a valid SSL certificate installed on your domain name.
- In Directory – In this field, you can specify the directory path where the installation to be performed. If you would like the installation to take place directly under the domain name’s root folder ( i.e., https://yourdomain.com), please make sure to leave this field blank. Alternatively, if you wish WordPress to be installed under a subdirectory (e.g., https://yourdomain.com/blog), please make sure to specify the subdirectory under this field.
- Store Name – Here, you will need to enter your store’s name as displayed in the browser title bar.
- Site Description – In this field, you can enter a custom title for your website, which will be displayed in the header of your store frontend pages.
- Enable Multisite (WPMU) – If you tick this checkbox, your WordPress website will enable the Multisite option.
- Admin Username – In this field, please specify the admin username for your WordPress Admin Dashboard.
- Admin Password – In this field, you will need to enter the password for your Admin account. Please make sure to select a strong password as using insecure login credentials may influence your website security and make it vulnerable to various attacks. You can use the password generator (“Key” icon) to create a strong password.
- Admin Email – In this field, you will need to enter the desired administrative email address, which will be used for all update notifications, password reset requests, etc.
From the following two “Choose Language” and “Select Plugin(s)” sections, you will be able to select the default language for your WordPress website and enable the listed plugins if needed.
The “Advanced Options” section is optional, and it will allow you to customize the database assigned to your WordPress website and select your update and backup preferences. If needed, please click on the “+” button to expand it.
You can give your database a custom “Database Name” and change the database “Table Prefix”. You can disable the update notifications sent via email by ticking the checkbox. You can configure your preferences for the automated update functionality of your WordPress version, themes and plugins by thinking of the corresponding checkboxes. You can control the “Backup Location”, the frequency of the Softaculous “Automated Backups”, and the “Backup Rotation”. Please note that these backups will be stored under your hosting account, and they will demand available free space. In the case of using one of our shared hosting solutions, HostArmada is already backing up your data and storing it on remote servers for enhanced security.
From the last “Select Theme” section, you will be able to select a theme that will be pre-installed for your new WordPress website. This is optional; therefore, you are not required to choose it right now, anyhow you will be able to change your WordPress theme anytime in the future.
Step 6. You can fill out the details according to your preferences, and then when you are finished, you can click the “Install” button to complete the setup.

That’s all there is to it. Easy, right? If the answer is no and still seems somewhat confusing, have no fear or worry because our dedicated support team is always here to help!


