Introduction #
A successful online business is a multi-layered system that is built on a lot of factors, such as interesting products, competitive pricing, fast loading speed, good SEO and creating a trusted environment where potential prospects can feel safe when making purchases. In order to establish a secure foundation of trust between you and your clients, you need to install an SSL certificate for your domain. When installed, people who visit your website will be greeted with either a green padlock or a branded URL bar, located on the left side of the domain in their browser.
To obtain an SSL certificate, you must generate a Certificate Signing Request (CSR), which you then need to provide to your Certificate Authority (CA). The CSR data file is comprised of a public and private key pair. The CA will need the public key in order to create the certificate file for the domain that will match the private key, without compromising it in the process.
The most important part of the SSL is the digital signature of a trusted CA, such as GlobalSign, Comodo, DigiCert, etc. All the browsers have a built-in list of the trusted CA and if a browser detects that an SSL’s CA bundle is not digitally signed by one of the vendors inside this list, the person visiting the website will receive a warning.
In this tutorial, we are going to talk about the “Generate an SSL Certificate and Signing Request” feature in the WHM control panel that will allow you to generate a CSR for a domain. In addition to that, the “Generate an SSL Certificate and Signing Request” feature will also let you generate a self-signed SSL certificate. Note that if you install this SSL certificate for your domain name, you will receive a warning in your browser, as explained in the previous paragraph. This will happen because the CA, or in this case, your server does not exist in the browser’s trusted CA list. Let’s get started!
Accessing the Generate an SSL Certificate and Signing Request feature #
First, you need to log into the WHM service for your VPS or Dedicated Server. After you have logged in, please use the search bar on the left side of the page and type “Generate an SSL Certificate and Signing Request”.
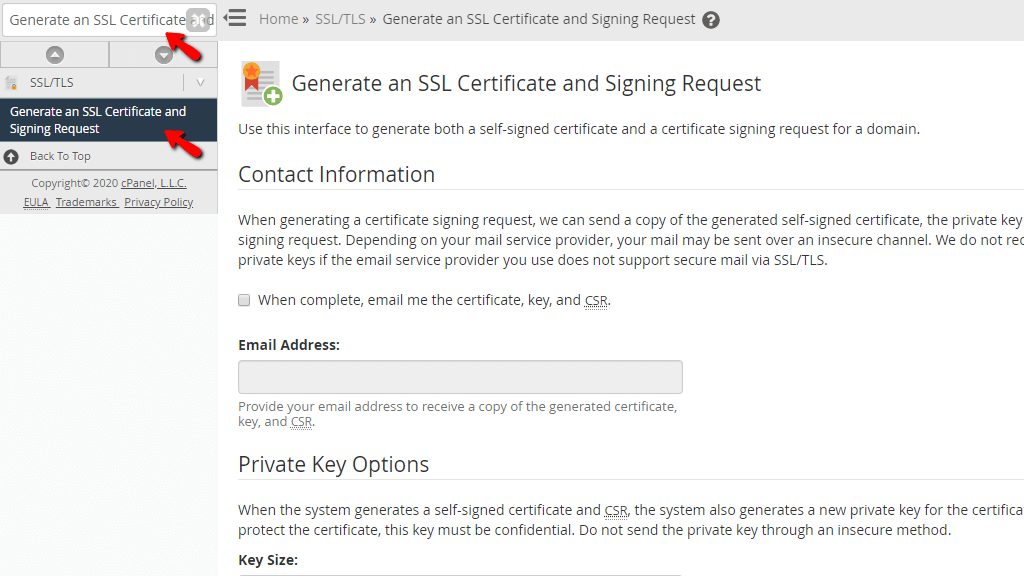
When the functionality shows up below the search bar, please click on it so you can be sent to the “Generate an SSL Certificate and Signing Request” page.
Generating a Self-Sign SSL certificate and a CSR #
When you land on the “Generate an SSL Certificate and Signing Request” page, the first thing you are going to see is the “Contact Information” section. It will provide you the option of sending the self-signed certificate, private key, or CSR to an email when generated. To select this option, please put a tick inside the checkbox and use the text field to type in the email address which the self-signed certificate, private key, or CSR will be mailed to.

The next section you are going to encounter is the “Private Key Options” section. It has a dropdown menu that allows you to select the key size in bits. We recommend selecting the 2048 bits option.

The second to last section is the “Certificate Information” section. The information you provide there will be used to create a CSR which you can use to order an SSL from a trusted CA. In addition to that, a self-signed certificate will be created as well.
- Domains – In this content-box, please enter the fully qualified domain name (FQDM) you would like to generate a CSR for.
- City – In this text field, please provide the full name of your city or locality. Do not use abbreviations.
- State – In this text field, please enter the state or province you are currently occupying. Same as above, no abbreviations.
- Country – Please select your country using the dropdown menu.
- Company Name – Inside this text field, please type in your company name. If it has special symbols or special characters in it, please contact your CA and ask if this will prove to be a problem. Another thing you may type in is the name of your domain.
- Company Divison – Using the text field, please type in the division or group within the above company if such exist.
- Email – In this text field, please type in the email at which the CA will contact you to verify the ownership of your domain. In order to avoid any issues with receiving the verification email, please contact your CA and ask if they have requirements in regard to the name of the email account. Some vendors require you to use either admin@domain.com or webmaster@domain.com otherwise, no verification email will be sent.

The last section within the “Generate an SSL Certificate and Signing Request” functionality is the “Shared Secrets” section. Some CA require the certificate signing requests to have a passphrase. The passphrase could then be used by the Certificate Authority to confirm the identity of the person or organization with whom you will be communicating with. This passphrase is UNENCRYPTED within the CSR, thus do not use a password you would normally use for important logins such as your Client Area with Phluit.

You can skip this option if the CA does not require a passphrase. If it does, please type it in the text field.
When all of the information in the previous paragraphs has been provided and you are ready to generate the certificate signing request and the self-signed SSL certificate, please press the “Create” button located on the bottom of the page.
When you press the “Create” button you will be taken to a page where the certificate signing request, the private key, and the certificate itself will be provided. On top of the page, you will see which domain the self-signed SSL certificate, the CSR, and the private key are created for and you will also see a message saying that they have been mailed to the email address you selected at the beginning of the “Generate an SSL Certificate and Signing Request” page.

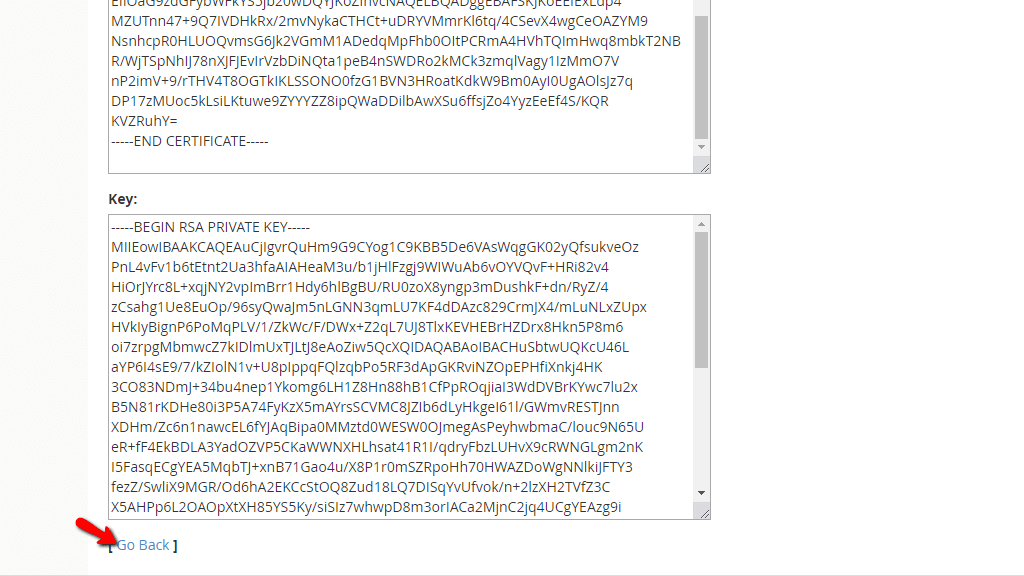
When you scroll the page down, you will find the CSR, the Private Key, and the SSL certificate:

If you want to generate another CSR, private key, or a self-signed SSL certificate, please press the “[ Go Back ]” link located at the bottom of this page.
That was it! Here is how you can use the “Generate an SSL Certificate and Signing Request” feature in the WHM control panel to generate a CSR or a self-signed certificate for a domain name. The process itself is really simple and you should have no issues at all going through the setup. If you are faced with any issues while creating the CSR, please, do not hesitate to contact our Technical Support Staff. They are 24/7 available through the ticketing system in your Client Area.


