Introduction #
Directory password protection is a feature of cPanel that will allow you to protect a directory from unauthorized access. The feature works by prompting a login form requiring the visitor to enter a username and password. If those are correct the content of the folder will be displayed, if not, an appropriate error message will be shown. This feature is particularly useful when you would like to protect any sensitive directories on your web hosting account such as:
- Website Admin directories – Directories such as the administration directory for WordPress – wp-admin for example.
- Locations with images or files that should be shown only for authorized users
- Folders containing downloads available only for authorized users
- Development copies of your website
Let’s get into the “Directory Privacy” cPanel feature!
Accessing the Directory Privacy feature #
As noted “Directory Privacy” is a cPanel feature and as such you will need to access cPanel for your Web Hosting Account in order to access it. If you are not quite sure how to login into your cPanel service, please check our other tutorial on the matter – “How to access cPanel”.
From within the cPanel service, the “Directory Privacy” feature is available right under the “Files” category of features.
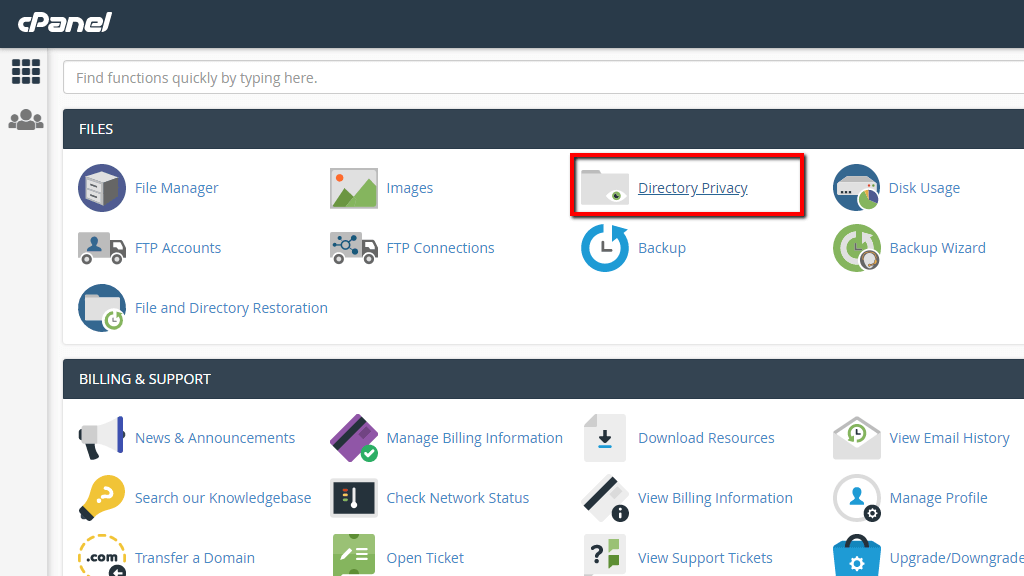
Once you click on the feature you will be redirected to a new page where you will be able to further configure the “Directory Privacy”.
Configuring the Directory Privacy feature #
The newly opened page contains some basic information on what the “Directory Privacy” feature is and also a directory listing from which you can pick the directory you would like to protect.
Here is the place where we should make a small note. As we mentioned at the beginning of this tutorial, the “Directory Privacy” feature will protect folders only accessible via the web. This means that the protected directory should be under the document root of either your primary domain or any of the additional domains/subdomains you have added to your Web Hosting Account. If the protected directory is located outside the directory root for your domain then the same cannot be accessed and the goal of the feature cannot be achieved.
Let’s continue by selecting a folder which we will be protecting. In our case, this will be the “admin” folder contained in the “public_html” directory of our sample Web Hosting Account.

To navigate to the location of the folder you would like to protect you should click on the folder icons instead of the directory names. To actually select a folder that will be directory protected you will need to click on the folder name.

Now that you have selected the folder that should be password protected, you will be redirected to the final page where you will configure the remaining settings.
On the new page, you will be provided with a few important settings. First, to enable the “Directory Privacy” for the selected folder you will have to tick the “Password protect this directory.” option and specify the name of the protected directory.

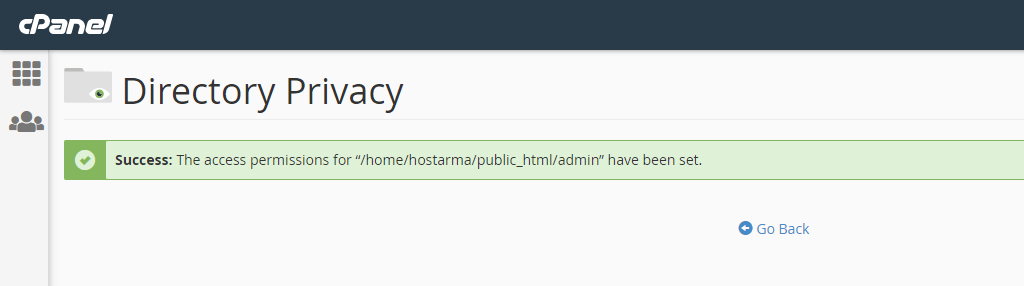
When you are ready, please click on the “Save” button in order for the “Directory Privacy” to take effect. cPanel will save the configuration and will then display a message indicating the successful enabling of the “Directory Privacy” feature.
Congratulations! You have successfully enabled the “Directory Privacy” feature! However, this is only half the work done. Let’s see how to create a user that will be authorized of viewing the content of that folder.
Creating a new user for accessing the password-protected directory #
As we have already mentioned the “Directory Privacy” feature does require authorization for a protected folder to be opened over the web. The authorization is completed with a pair of username and password credentials and to create those you will need to go back to the configuration of the password-protected folder.

The second part of the page is precisely for creating and assigning users for access under the password-protected folder. To create a new user, please specify the username and the password in the “Create User” section.

When you are ready filling up the fields, please click on the “Save” button so the user can be created. cPanel will then create the user, assign it to the folder and finally provide a message indicating the successful operation.

That’s it! You are ready to access the folder in your web browser! Just in case you lose the password or you would like to change it, simply access the same configuration page for the password-protected folder and add the user a new with the new password you would like to use.
Congratulations, you now know how to completely protect a directory on your web hosting access from unauthorized access. Of course, if you experience any difficulties enabling the protection, please reach out to our Technical Support Team and they will gladly assist you with the goal you are trying to achieve!


