Introduction #
Every visitor on your website is identified by a unique physical address of the device he/she is using. This address is called an IP address and you can use it when you would like to block the access to your websites for that concrete visitor. Typically such is the scenario when malicious activity is detected by a visitor or in case excessive access rate with malicious purposes is identified. Thanks to the “IP Blocker” feature of cPanel, you will be able to easily block an IP address or a range of IP addresses and in the next lines of this tutorial, we will show you how that is done.
Accessing the IP Blocker feature in cPanel #
Before you can proceed with the “IP Blocker” feature, you will need to access the cPanel service.
Once logged into the cPanel service you will be presented with all the features cPanel has to offer separated into different features groups. To access the “IP Blocker” feature either use the search functionality at the top of the page or locate the “Security” features group where the “IP Blocker” feature is located.
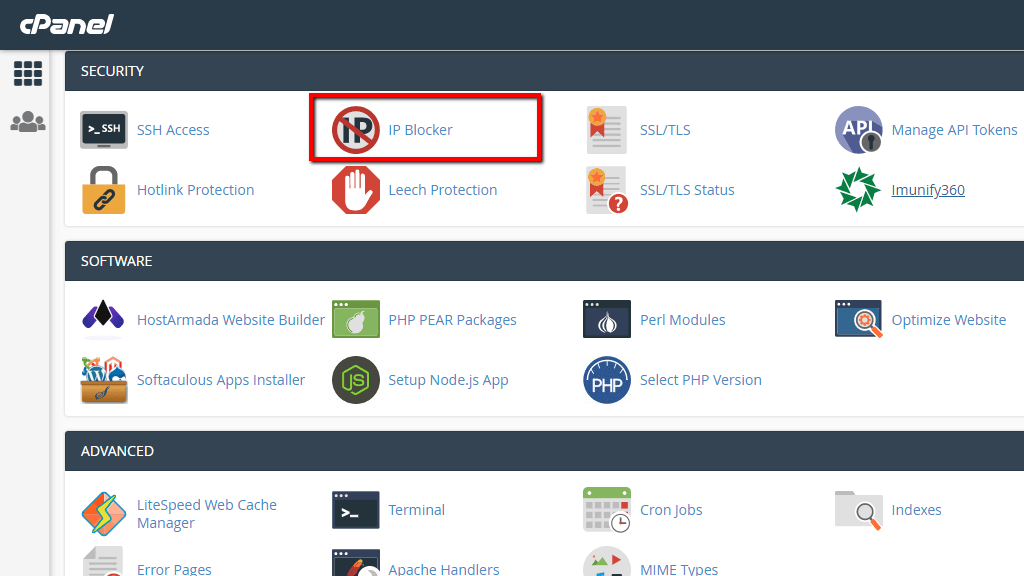
No matter how you find the “IP Blocker” feature, please click on it so you can proceed further with this tutorial.
Blocking a new IP address #
Now that you have accessed the “IP Blocker” feature let’s see how to block a new IP address. The first section available on the page is called “Add an IP or Range“. Using this section you will be able to add an IP address or range of IP addresses into the block list for your website.
Here is the place where we should explain how the IP address gets blocked and what exactly blocking an IP address means. Typically when an IP address is being blocked on a server level this is done via the Firewall of the server. This means that the block is applied on a server level and any connections attempted by the blocked IP address will be denied. However, with cPanel, this is not the case.
Blocking an IP address in cPanel is done on a Web Server level. This means that the connection from the blocked IP address is still performed, however, the Web Server will return a 403 status code on any request performed by that IP address. The 403 Status Code means that the IP address is forbidden to access the web resource it is requesting.
To be able to create such blocks cPanel edits the main .htaccess file for your websites which is located inside the “public_html” folder of your Web Hosting account. Depending on whether or not you are blocking a single IP address or a range of IP addresses, cPanel will add the following code into the .htaccess file:
<Files 403.shtml>
order allow,deny
allow from all
</Files>
deny from <IP Address>
These are Web Server rules that instruct the Web Server whenever a request to websites in this folder are performed, the same should be denied.
Now that you know how blocking an IP address work, let’s continue by adding a new IP address into the list of blocked IP addresses. To do that please enter the IP address or the range of IP addresses into the “IP Address or Domain” field and click on the “Add” button.

cPanel will then redirect you to a new page where you will be provided with a status message indicating whether or not the IP address has been blocked.
Releasing blocked IP addresses #
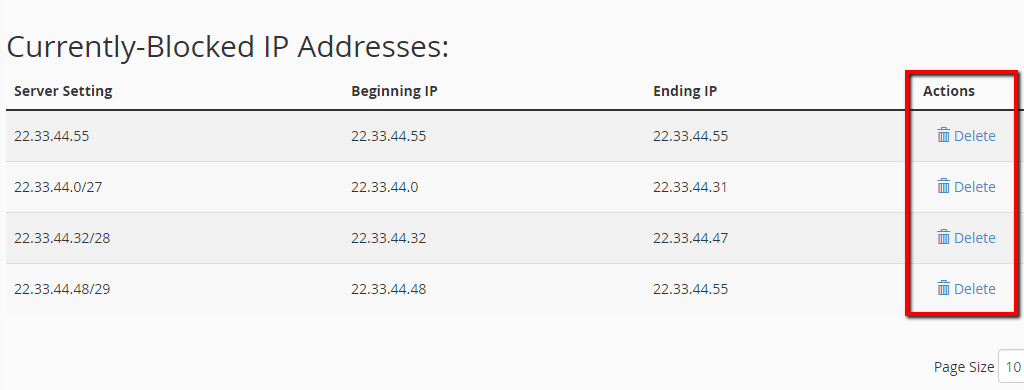
To release a blocked IP address you will need to locate the IP address in the “Currently-Blocked IP Addresses” section which is located at the bottom of the “IP Blocker” page. There you will find a table containing all the IP addresses you have previously blocked.
Please note that if you have blocked IP ranges cPanel will add multiple entries in the table. In order to release the blocked IP address range, you will have to remove all the entries you can find from the table.
Please find the IP address you would like to release and click the “Delete” button displayed in the final column of the table for each and every IP address.
cPanel will then redirect you to a brand new page in which you will have to confirm the deletion of the IP address you have chosen. Please click on the “Remove IP” button so you can finalize the process.

Once it is done, cPanel will display a status message indicating if the IP address was successfully removed from the list.
That’s it! Congratulations! You now know how to block IP addresses from accessing your websites as well as how to release any blocks you have already added. If you are experiencing any error messages in the process of adding or removing IP addresses, please do not hesitate to contact our Technical Support Crew for further assistance on the case!


