Introduction #
In this tutorial, we will guide you on how to manually install WordPress on your web hosting account. Being able to manually install WordPress comes in handy when you cannot do so via the Softaculous Auto-Installer for some reason. At the end of this guide, you will not only have a website empowered by one of the most popular web applications but you will be familiar with the basic concept of installing web applications manually.
Getting Started #
The very first step we will need you to take is to download the required installation archive from the official WordPress website. Once you access the website, simply click on the “Download” button and the latest version of the application will be downloaded to your local computer.

Once you initiate the download, please allow it a few moments to be successfully completed. When it is done, please go ahead and extract the archive locally. You will end up with a folder called “wordpress” which contains the required installation files. When you are done you are ready to move to the next step.
Uploading the files #
Now that you have the archive file successfully extracted on your local computer you are ready to upload the files to your web hosting account. You can do that with your favorite FTP Client. All you will need to do is to connect it to your web host. If you are not sure how to do that, you can find detailed instructions in our FTP-based tutorials available here.
When you successfully connect your FTP Client, please navigate through the left panel and locate the “wordpress” folder which contains the installation files. Then navigate through the right panel to the directory where you desire to install WordPress. If you want the application to be installed directly under your main domain name (i.e. https://yourdomain.com), please ensure you are located under the “public_html” folder. Afterward, select all files (“ctrl” + “a”) from the left panel and click on the “Upload” button.

After the upload process is successfully initiated, please allow it with a few moments in order to successfully finish. Once the process is completed you are all set to continue to the next step.
Creating a database #
WordPress requires a database where all the information will be stored. You will need to create a new database that will be assigned to WordPress during the installation. That can be done within a few clicks via the “MySQL Database Wizard” tool integrated into your cPanel account. Please review our How to create MySQL Database via cPanel tutorial where you will find step-by-step instructions guiding you on how to create your new database. When you are creating the database, please make sure to keep the database name, username and password on file as you will need them later on while setting up the application.
As soon as your new database is created you are ready to step into the installation of WordPress.
Setting up WordPress #
Now that you have the installation files uploaded to your web hosting account and your new database created, you are ready to start with the setup of WordPress. Please open your favorite web browser and enter the domain name under which you aim to install the application (e.g. https://yourdomain.com). This action will launch the installation guide and within a few simple steps, you will have your brand new website up and running.
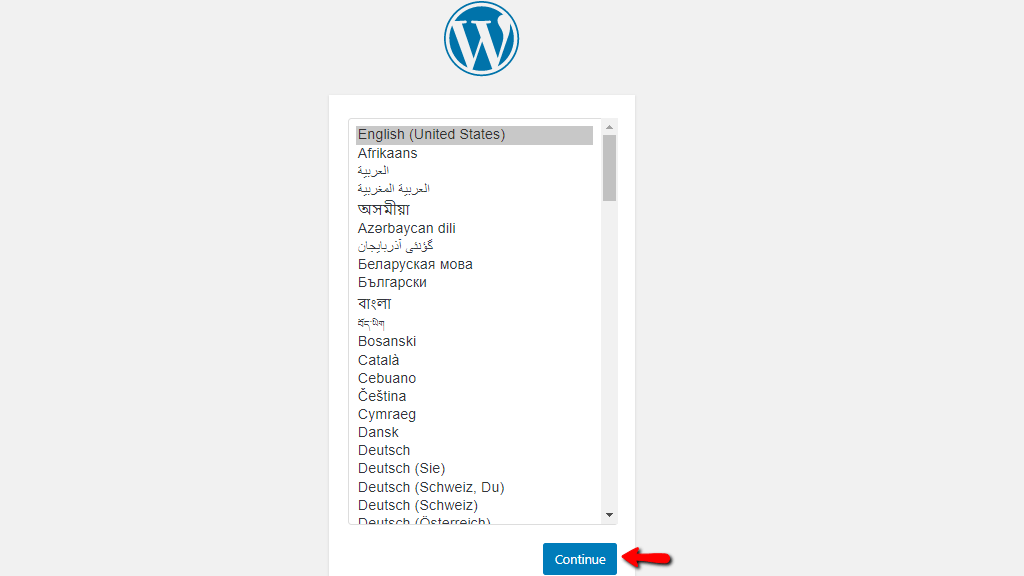
In the first step, you will need to select the default language of your WordPress website. Simply click on the preferred language from the list and hit the “Continue” button.
In the second step, you will be informed about what information will be required in the following step, such as database name, username, password, etc. Please go ahead and click on the “Let’s go!” button.

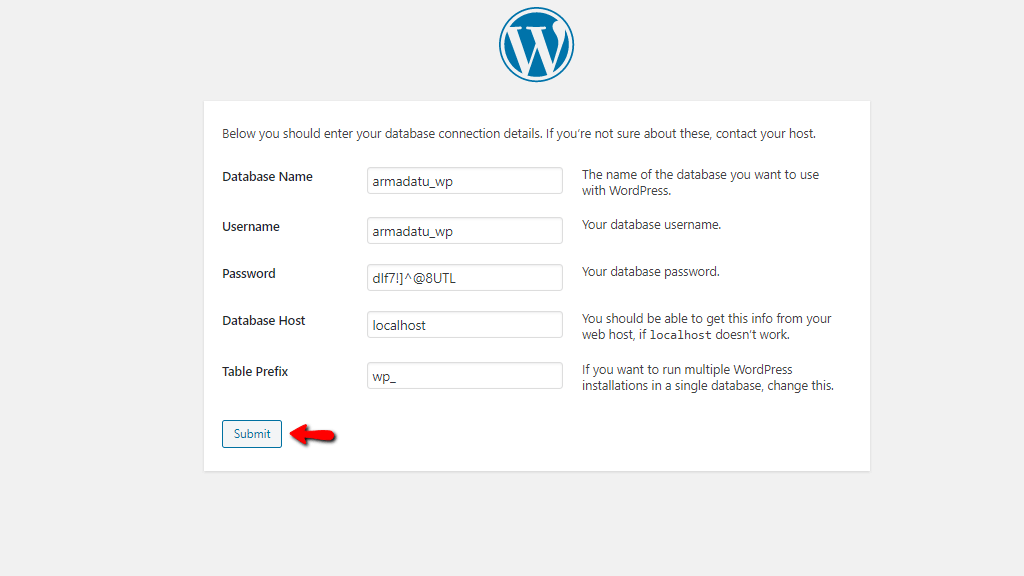
In the third step, you will need to specify your database details. Please enter the database name, username, and password in the corresponding fields. Leave the “Database Host” field set to “localhost” unless the database in question is stored on a remote server. The “Table prefix” field is optional so you can leave it as it is. When you are ready, please click on the “Submit” button.
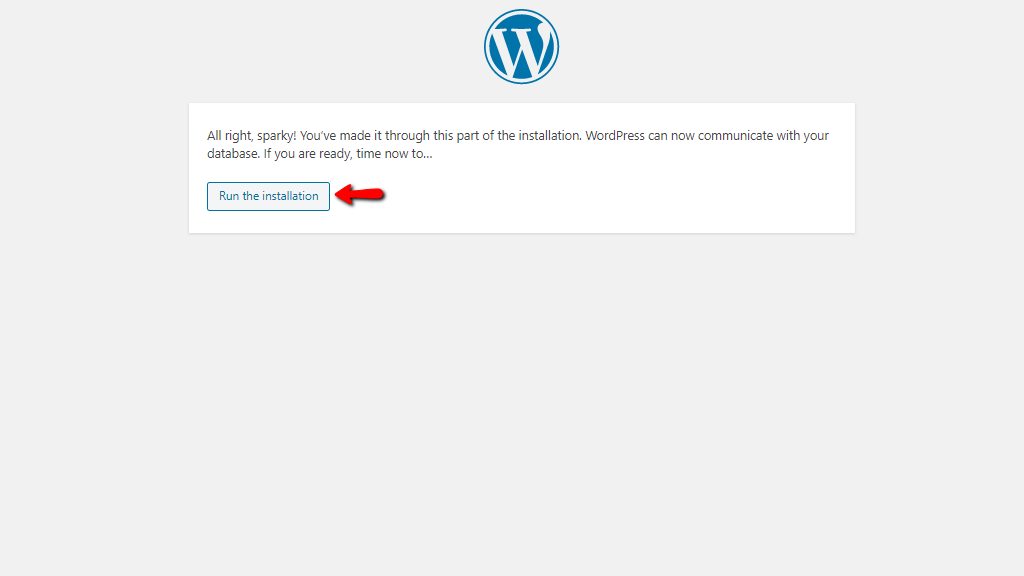
A check of your database will be initiated and once it is completed, you will be prompted with a new window welcoming you to proceed with the installation. When you are ready, please click on “Run the installation”.
Finally, you will need to fill your website information. Please, enter the site title and specify the login username and password for your WordPress Admin Dashboard, as well as the administrative email of the website. Once you are ready, please click on the “Install WordPress” button.

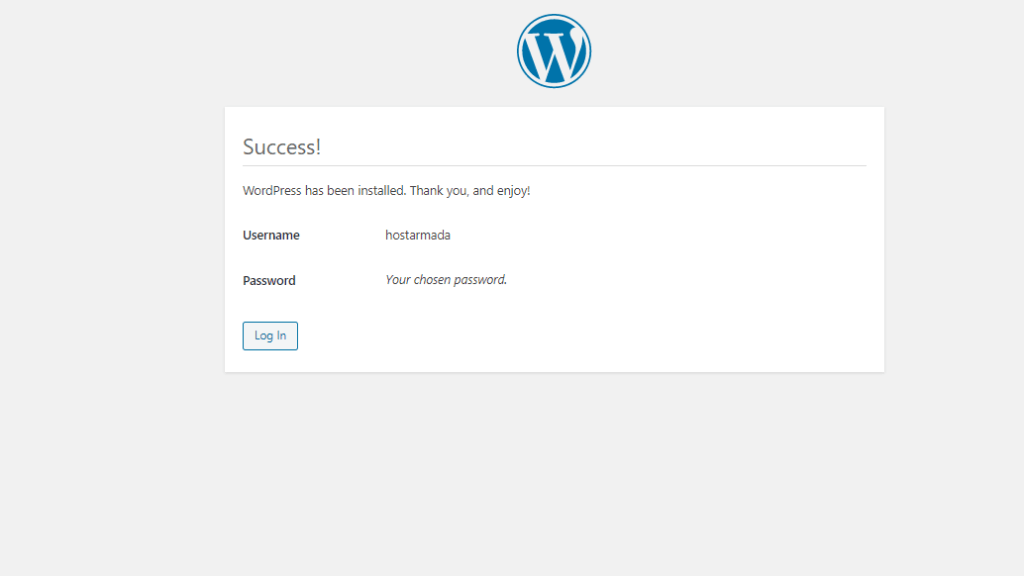
When the installation process is completed you will be prompted with a new screen stating that the installation was successfully performed and you will be welcomed to log in to your Admin Dashboard.
That is it! You have now successfully installed WordPress and you are ready to put your creative thinking in work and develop a beautiful website. We would like to thank you for trusting our guidance and welcome you to contact our Support Team in case you have any further questions.


