Introduction #
It is no secret that people are captivated by eye-catching visual media. Considering that, you should carefully choose, organize, and manage the media files displayed on your WordPress-based website.
In this tutorial, we will show you how to configure the Media Settings, which allow you to control the visual appearance of your images and the rest of the media files available on your website.
Getting Started #
For a start, please log into your WordPress Admin Dashboard. You can do that by accessing your domain followed by “/wp-admin“, i.e., “yourdomain.com/wp-admin“, where “yourdomain.com” stands for your actual domain name.
Once logged, please navigate through the left-hand side menu bar to Settings > Media.
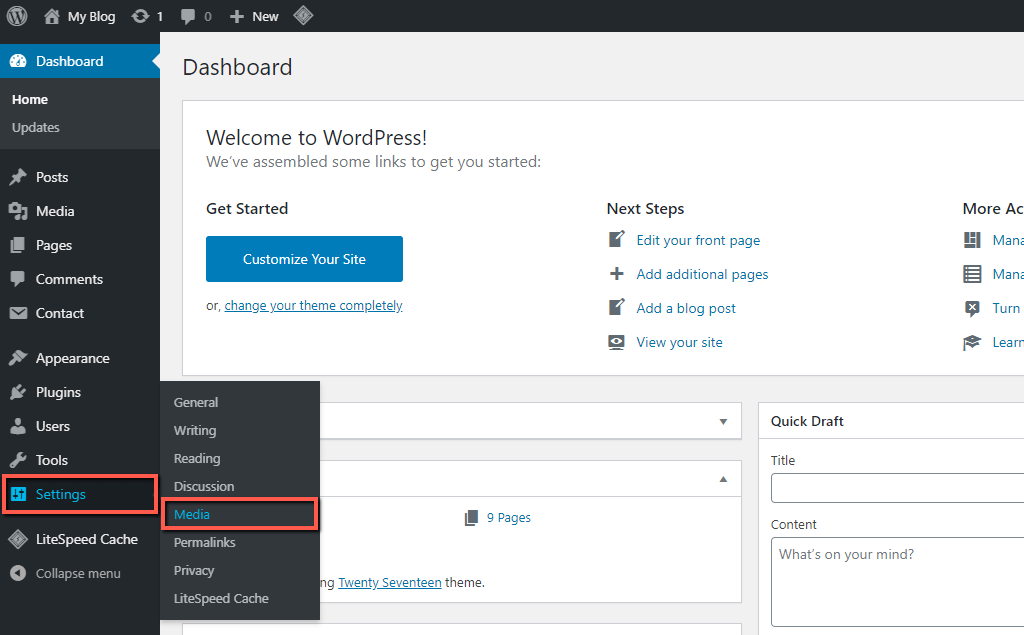
Upon doing that, you will be redirected to the “Media Settings” section, where you can start the configuration.
Configuring Media Settings #
Now that you are on the intended page, let’s review all the settings and alter them with the intention to your individual preferences.
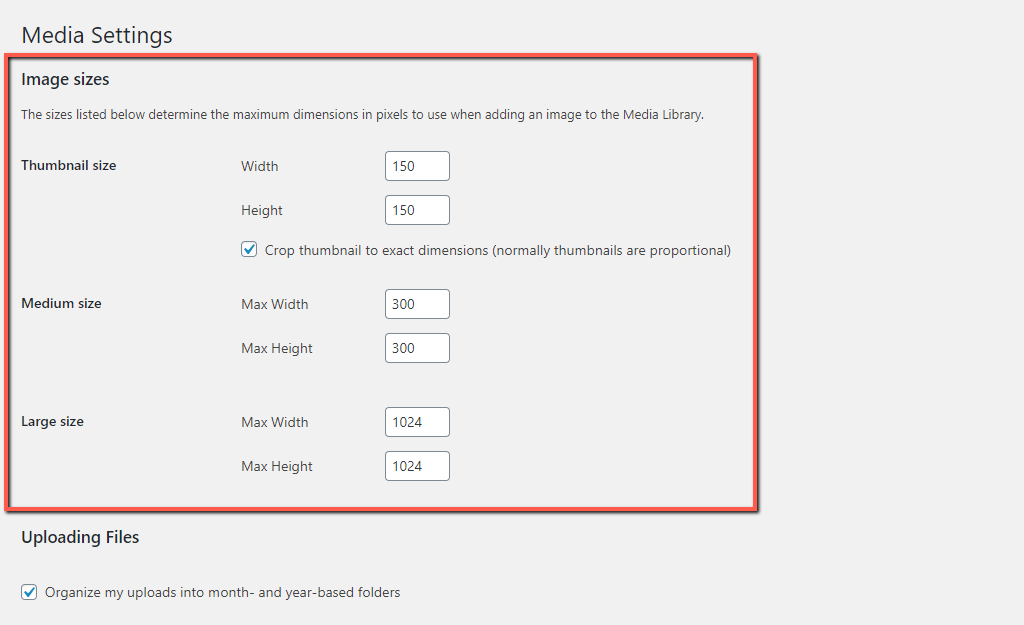
Image Sizes #
When an image is uploaded, WordPress saves the original image and automatically creates three additional copies – thumbnail image, medium image, and large image. The original image is being cropped and resized based on the parameters defined by you.
Within the first “Image Sizes” section, you can control the maximum dimensions of the corresponding type of images.
- Thumbnail size – In these fields, you have to define the “Width” and “Height” in pixels of the thumbnail images. If you leave the checkbox ticked, WordPress will crop the images that do not fit the defined dimensions.
- Medium size – In here, you have to specify the “Max Width” and “Max Height” in pixels for the medium-sized images.
- Large size – In here, you have to enter the “Max Width” and “Max Height” in pixels for the large-sized images.
Within the screenshot example below, you will see the default WordPress dimensions. In case you have lots of images on your website, we would recommend you to reduce these dimensions in order to improve your performance and decrease your memory usage.
Uploading Files #
Within this second section, you will find only one checkbox, which is ticked by default.
- Organize my uploads into month- and year-based folders – This setting allows you to store your images into separate year- and month-based folders, based on the time of the upload. Organizing your media files in such a way is extremely convenient for the future management of your website. Therefore, we will recommend you to keep it this way.

When you perform all desired changes, please make sure to click on the “Save Changes” button to apply them successfully.
With this done, you are already aware of how to customize your image dimensions and how to organize your uploaded images. We hope this information was useful to you, and it will help you optimize your images with the intention of achieving the best results.


