Introduction #
In this guide, we will review WooCommerce Product Tags. Product tags provide the option to relate products with similar specifications. Tags can be used in the navigation menus and they can be shown under your products. Labeling your products with tags is useful for increasing your end-users’ experience as they will be able to easily navigate through your store and quickly find what they are looking for. Let’s jump in and show you how to add your first product tag.
Getting Started #
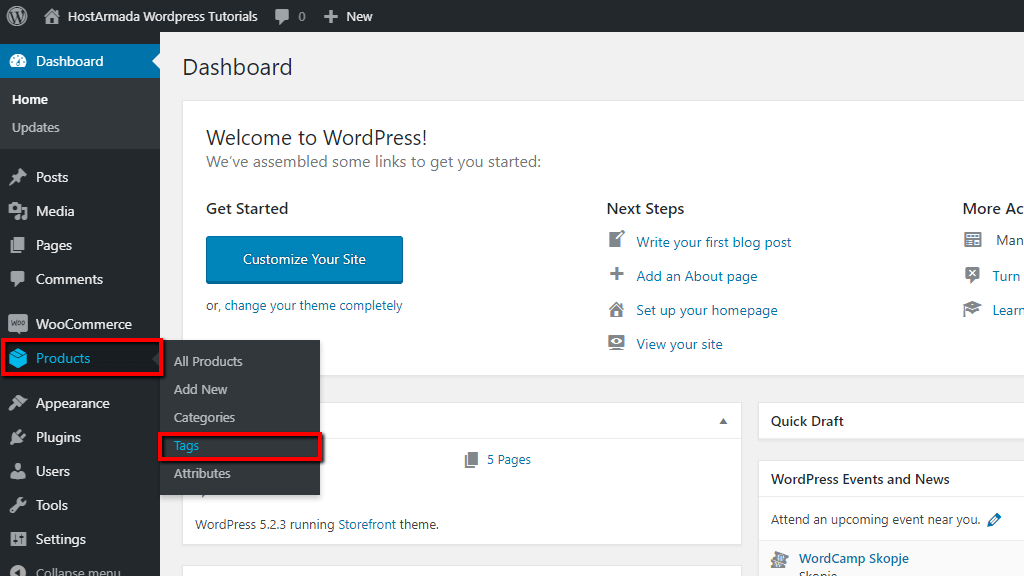
As always, we will first need you to log in to your WordPress Admin Dashboard and head to Products > Tags.
Then you will be presented with the “Product tags” page where you will be able to add your new tags and manage your existing ones.
Adding a Product Tag #
Adding a product tag is similar to adding a product category, however, it is much simpler. Let’s say, for example, that we will be selling watches and we would like to add a “Leather strap” tag.

As you will notice, you will have to configure only the following three edit options:
- Name – In this field, you will need to enter the name of your tag which will also appear on your store’s frontend.
- Slug – Here, you can either enter your custom slug or leave the field empty which will result in using the “Name” as a slug. The slug usually contains only lowercase letters, numbers, and hyphens.
- Description – Under this field, you can write a short description of your tag. This field is optional. Depending on the theme you are using the description might be shown while your visitors are browsing your store by tags.
Afterward, you will have to just click on the “Add new tag” button and your new tag will be successfully added.
Managing Product Tags #
After you add all your desired tags you will see them listed on the right end of the “Product tags” page. In the list, you will be presented with the “Name” of the tag, the “Description” you have written for it, the “Slug” and under “Count” you will be able to see how many products you currently have with that tag.
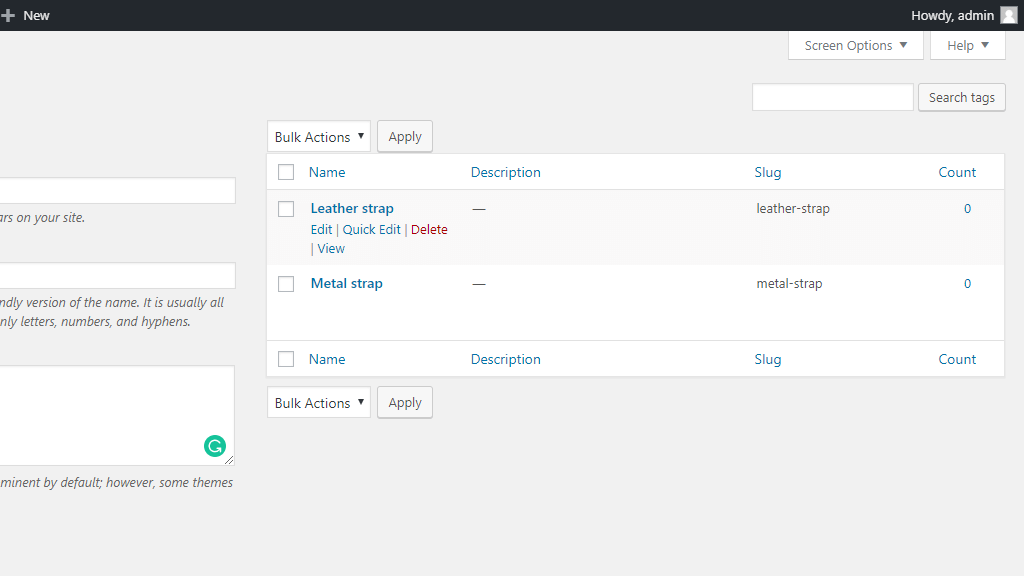
If you hover over a particular tag, you will be presented with the available options for managing it. If you click on the “Edit” button you will be able to change all the settings we initially configured for the tag. The “Quick Edit” button will allow you to change only the name and the slug of the tag. The “Delete” button will allow you to remove the tag in case it is no longer needed. Please note that deleting a tag will not remove the products associated with that tag. If you click on the “View” button it will allow you to review how the category is displayed on your store’s frontend.
Adding and managing your “Tags” is as simple as that. Configuring your “Tags” and “Categories” effectively will not only increase your user’s experience but it can also result in positively impacting your search engine ranking for specific keywords. We would like to thank you for trusting our guidance and welcome you to contact our Support Team in case you have experienced any difficulties.


