Introduction #
A database is an ordered collection of arranged information stored electronically in a computer’s file system. A database is usually controlled by a database management system (DBMS) – in the case of this tutorial phpMyAdmin. This structured information, the application using it, and the DBMS can be looked at as the “database system” or in short – the “database“.
This electronic information is commonly stored within a grid to accommodate ease of access and make the processing of data more efficient. In this shape, it can be effortlessly controlled, organized, and managed with the help of the SQL programming language. In this tutorial, we will go over all the tasks you can perform on a database using the phpMyAdmin feature inside the cPanel service. Let’s get started!
Getting Started #
Before you can access the PHPMyAdmin feature, you need to log inside your cPanel account with us.
Once logged in, please navigate to the “Database” section and click on the “phpMyAdmin” icon.

Clicking on the result redirects you to the “PHPMyAdmin” feature allowing you to start managing your databases.

To access the functionality allowing you to manage your databases, please, access the first “Databases” tab.
Database Selection #
Once you click there, you can see a list of all the databases on the server placed within a table section. Here is a description of all the columns:
- Database – Displays the name of the database.
- Collation – Displays the collation of the database.
- Action – This column contains a “Check privileges” button, allowing you to see the privileges of this specific database.

Underneath the table section, you can see the “Enable statistics” button. Clicking it adds more columns to the table shown above, providing additional information.
- Tables – This column shows the number of tables the database has.
- Rows – This column contains information about the numbers of rows the database has.
- Data – This column displays the size of the database, excluding the indexes.
- Indexes – This column contains the size of the indexes only.
- Total – This column contains the total size of the database.
- Overhead – This is a temporary disk space that the database used to run queries.

Now that you have expanded all the available options on this tab, it’s time to select a database and start managing it!
Database Table Management #
To select a database, please click the corresponding database name under the “Database” column. This action takes you to the specific database management tab where you can see all the tables in the selected database listed in a conveniently structured table view.
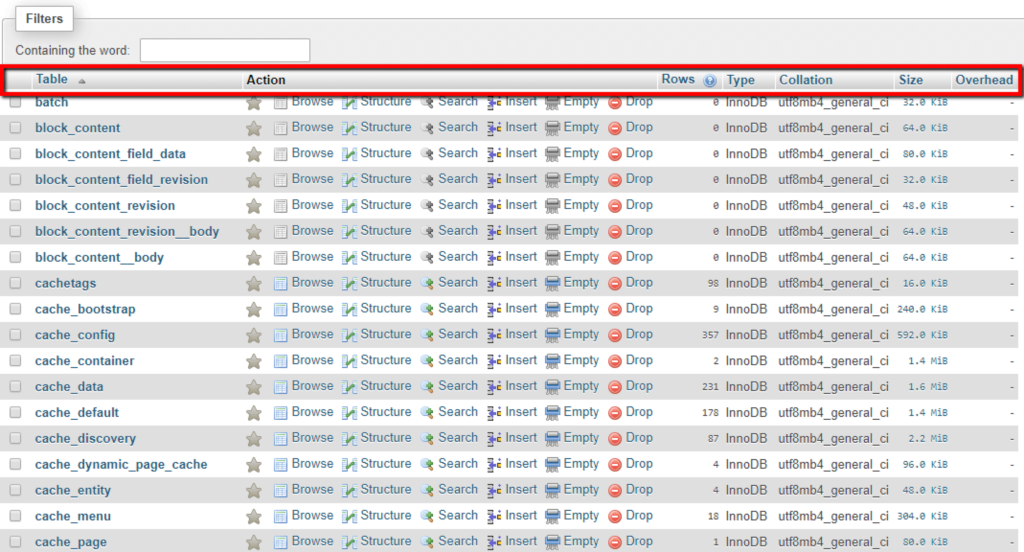
This area of phpMyAdmin is also referred to as the “Structure” tab of an individual database. Let’s go through all the columns inside the table section generated by the “Structure” tab.
- Table – This column displays the name of the database table.
- Action – This column contains all the actions which you can do with a database table: Browse, Structure, Search, Insert, Empty, and Drop.
- Rows – This column shows the numbers of rows in each database.
- Type – This column shows the database engine each table uses.
- Collation – This column displays the collation the database table has.
- Size – This column shows the size of the specific database table.
- Overhead – This column shows the size of the database overhead for the individual table.
If you scroll down to the bottom of the page, you can find a few useful functionalities you can use.
First off, you can see the “Check All” button allowing you to bulk-select all databases and perform actions on them using the list, which you can expand from the dropdown menu on the right side.
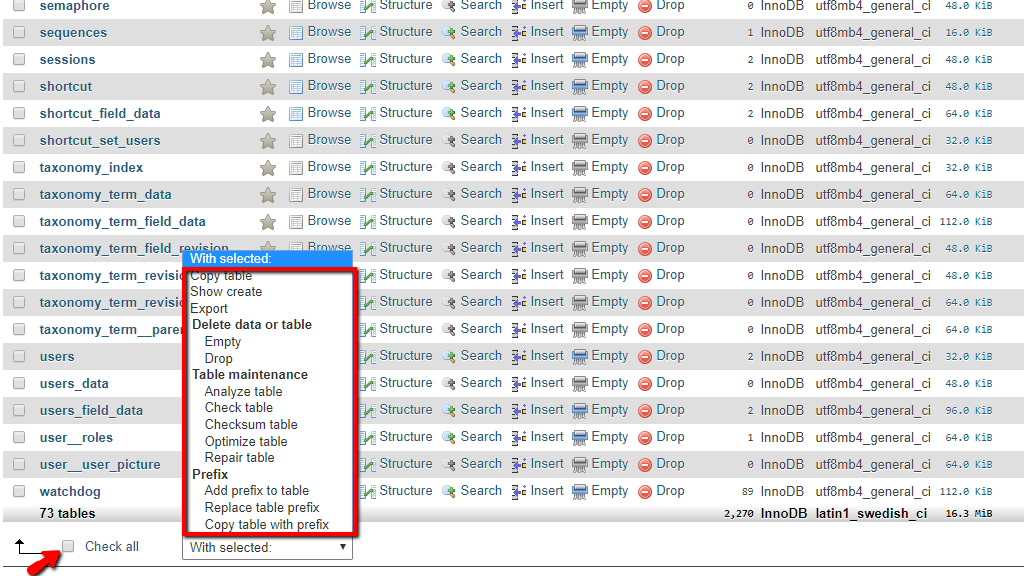
Choosing an action from the expanded list immediately executes it. Options such as Drop or Empty prompt a confirmation warning as you may severely damage your database if you are not careful when using them.
Lastly, at the bottom of the page, you can see two text fields. You may use them to create a database table with a specific name and a set number of columns.
Managing Individual Tables #
Now that we have gone over the main tab of the database management screen let’s talk about how you can alter individual tables.
The main structural component of a typical MySQL Database is the Table. The same as a regular table, the database table consists of columns and rows.
Every row in the table stores a group of related data, and all rows share this identical structure. A column is a set of informational values of specific and simple types for each row of the database. A column may contain text values, numbers, or even pointers to files in the operating system.
Let’s mix both together and form an example. Hopefully, that is going to clarify everything. Let us imagine a table containing various dog breeds. Each row holds one dog breed, and each column represents the breed’s features such as the name, the color variants each breed has, and its average life span.
To select a database table you want to alter or control, please click on it.
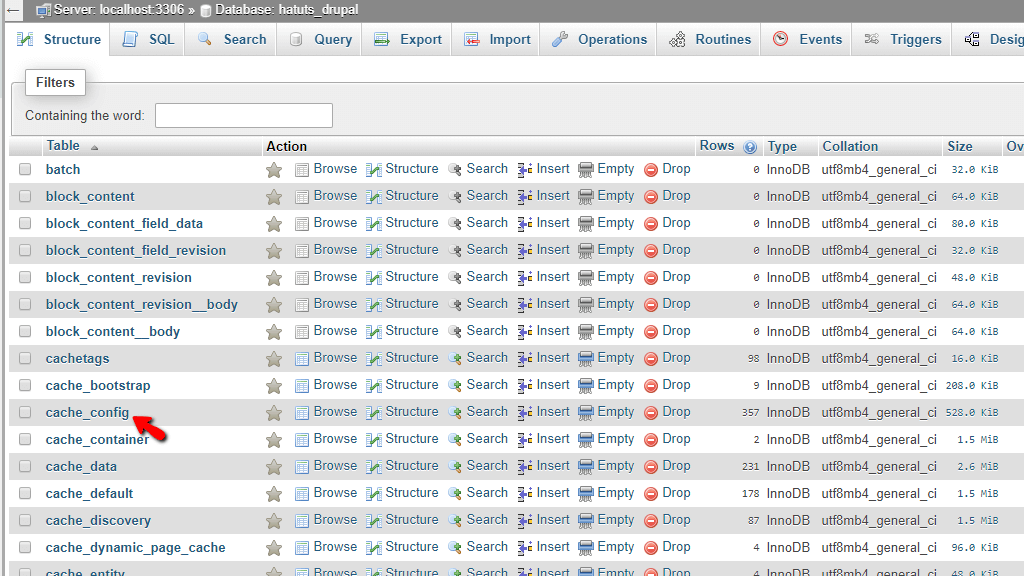
This action takes you to the individual table management tab allowing you to perform changes to the selected database table.

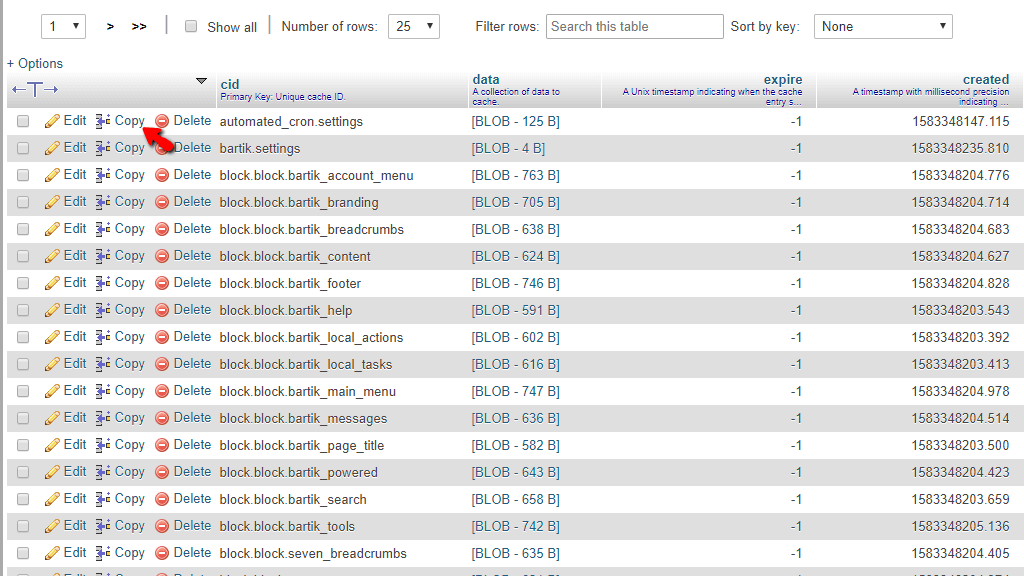
Each row has the “Edit”, “Copy”, and “Delete” options that trigger the corresponding action.
Edit #
To access this functionality, please click on the “Edit” option corresponding to the row you want to edit.

This opens an interface, allowing you to alter the current values of this row. This screen is comprised of various content boxes and text fields, each holding a value of a column corresponding to the row.

To change a select value, please click on each of the text fields holding the current information, and enter the new one. Once you are done, please press the “Go” button located on the bottom right side of the screen.

An alternative way you can edit each column is by double-clicking on the row corresponding to the column itself. This transforms it into a text field containing the current value. To save the changes, press the “ENTER” key on your keyboard.

Copy #
To access this functionality, please click on the “Copy” option corresponding to the row you want to create a copy of.
This opens an interface, allowing you to alter the current values of this row so that you can create a copy of it. This page looks utterly identical to the “Edit” page.
This screen includes various content boxes and text fields, each holding a value of a column corresponding to the row. To create a copy, you MUST change the Primary Key as you are going to receive a duplicate entry error. Once the desired changes are made, please press the “Go” button on the bottom right side of the screen.
This action creates a copy of the row, which contains the new values you assigned earlier.

Lastly, we are going to see the final action you can perform with the table row – the “Delete” option.
Delete #
To access this functionality, please click on the “Delete” option, corresponding to the row you want to remove. In this example, we are going to delete the newly created row from the “Copy” paragraph of this tutorial.
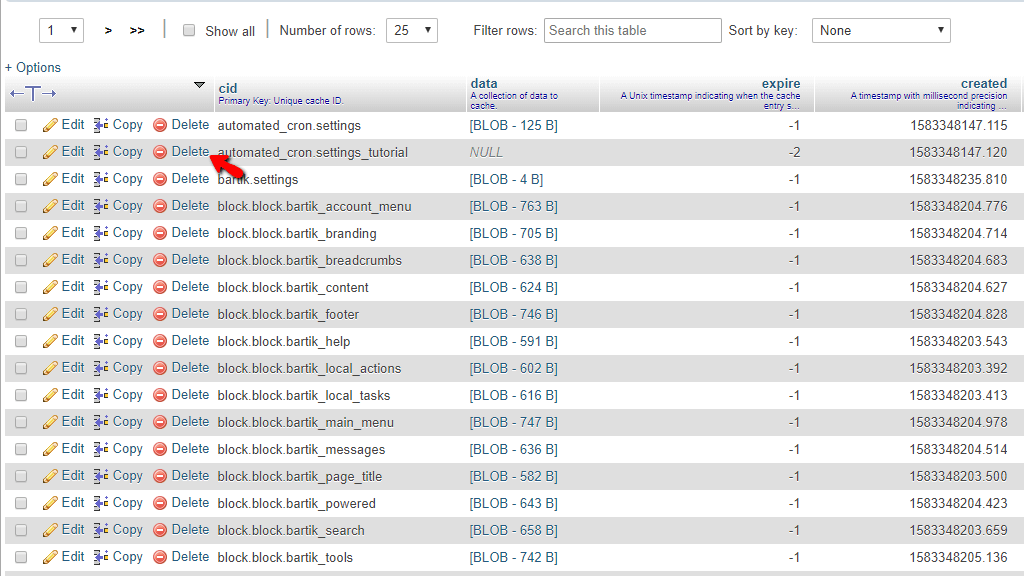
Pressing on “Delete” prompts a pop-up window, asking for confirmation. Please click the “OK” button if you are sure you want to delete the row.

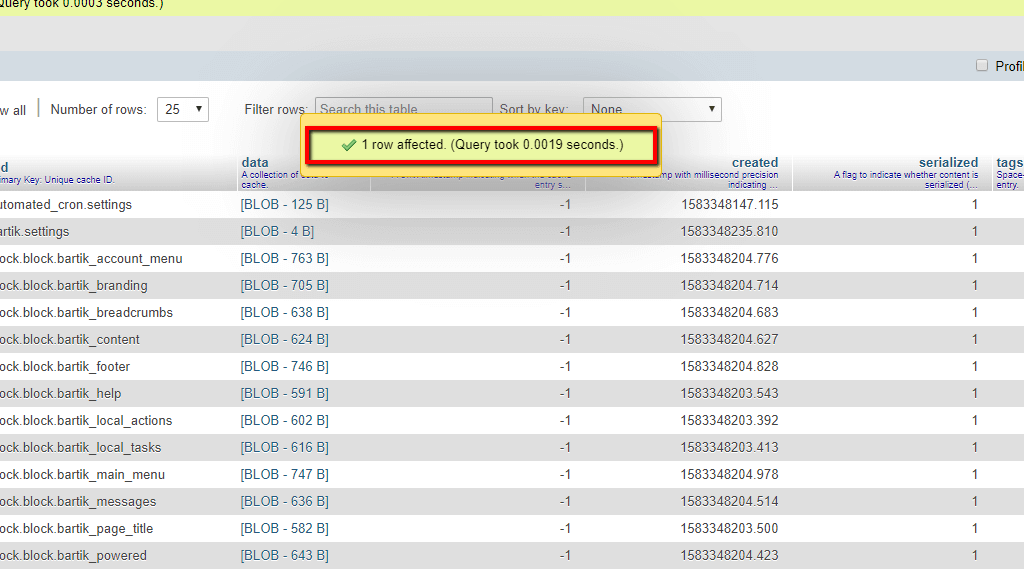
Finally, if the action was successful, you are going to receive a message indicating the query has been executed successfully.
There you have it! All the information you need to start managing your databases and their tables. If you experience any technical issues with the mentioned functionalities, please be sure to reach our technical team. They will be happy to assist you and are reachable 24/7 via the ticketing system in our Client Area.


