Introduction #
“Packages” are an essential feature of the WHM control panel. You can picture them as templates with custom limits and configurations that you can apply for the accounts on the server, provisioning them with preset statistics. This functionality is very popular amongst resellers, as it allows them to tailor the package per the needs of their client and also can upgrade/downgrade them with ease, based on the client’s usage. In this tutorial, we will be covering all the features related to “Packages” in the WHM control panel.
Accessing the Packages tab in WHM #
First, you need to log into the WHM control panel for your VPS or Dedicated Server. After you have logged in, please locate the search bar on the left side of the page and type “Packages”.

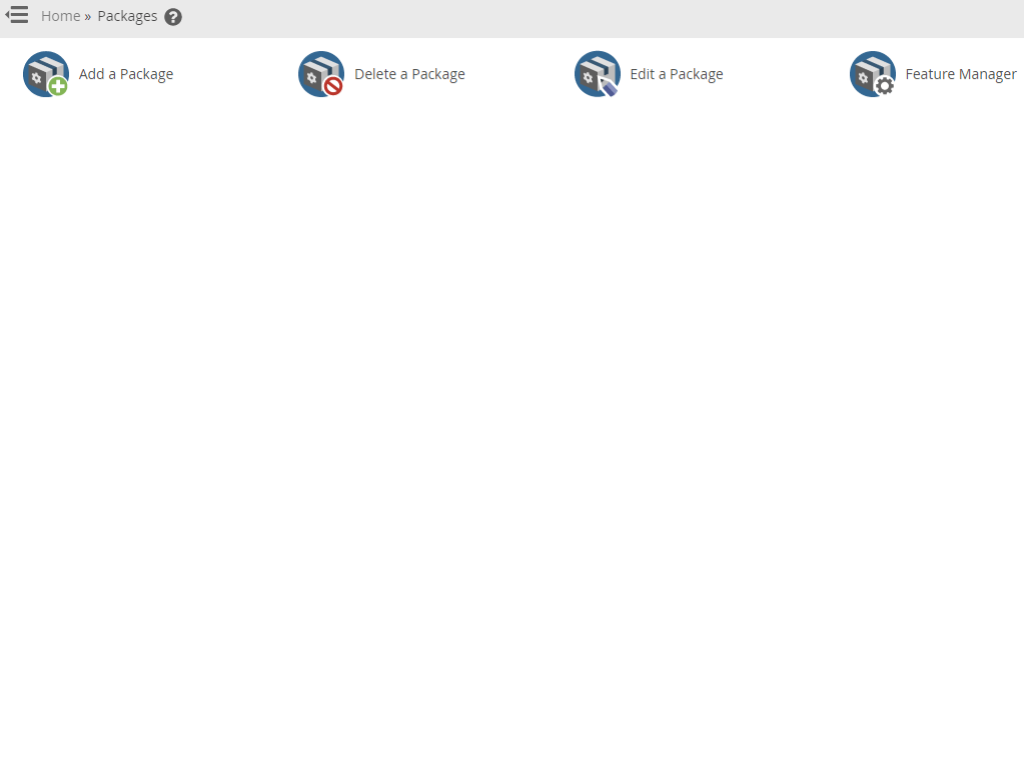
WHM will then present you with a set of results. Out of these results, you will have to click on the “Packages” category. When you click on it, you will land on the page, containing all the operations you can perform with the packages. We will be reviewing all of these in the next paragraphs to come.
- Add a Package
- Delete a Package
- Edit a Package
- Feature Manager
Add a Package #
This feature allows you to create a package and assign it to any account on the server. In order to start using it, click on the “Add a Package” link so you can be redirected to the package creation page.
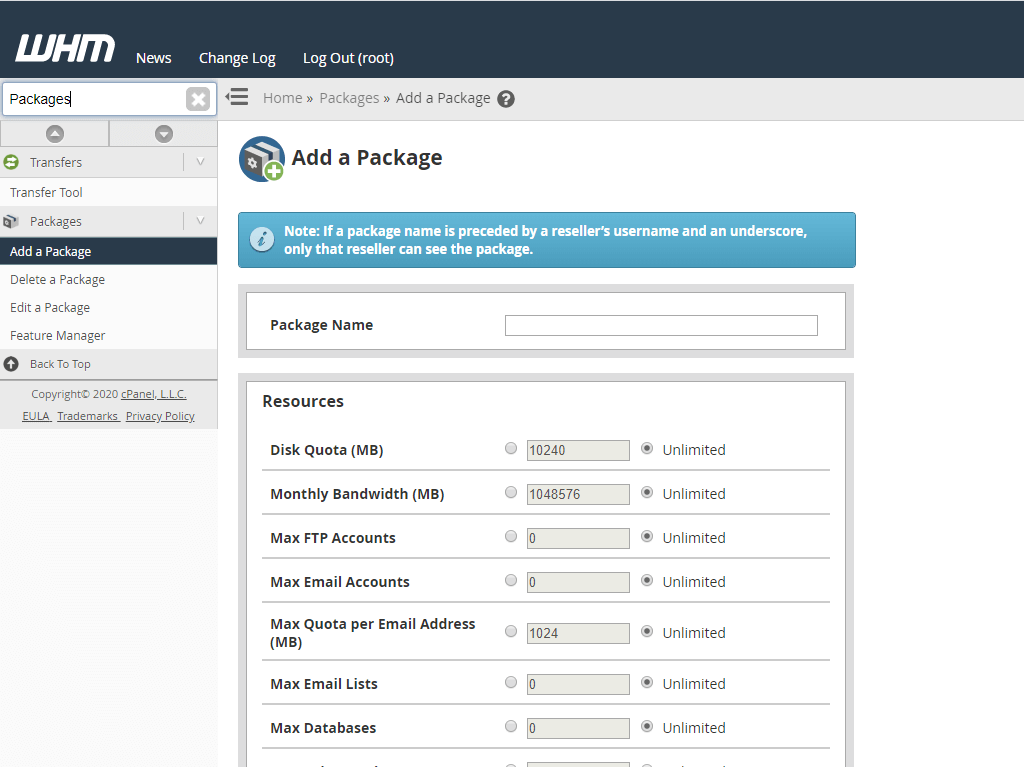
The first thing you will see is the section where you will have to enter the “Package Name”. You may use whatever name you want. One thing you need to note here is that the package names cannot be edited, so you should avoid adding a number or price in the name if you plan on changing it in the future. After you are done with the name, you can proceed to the “Resources” section.

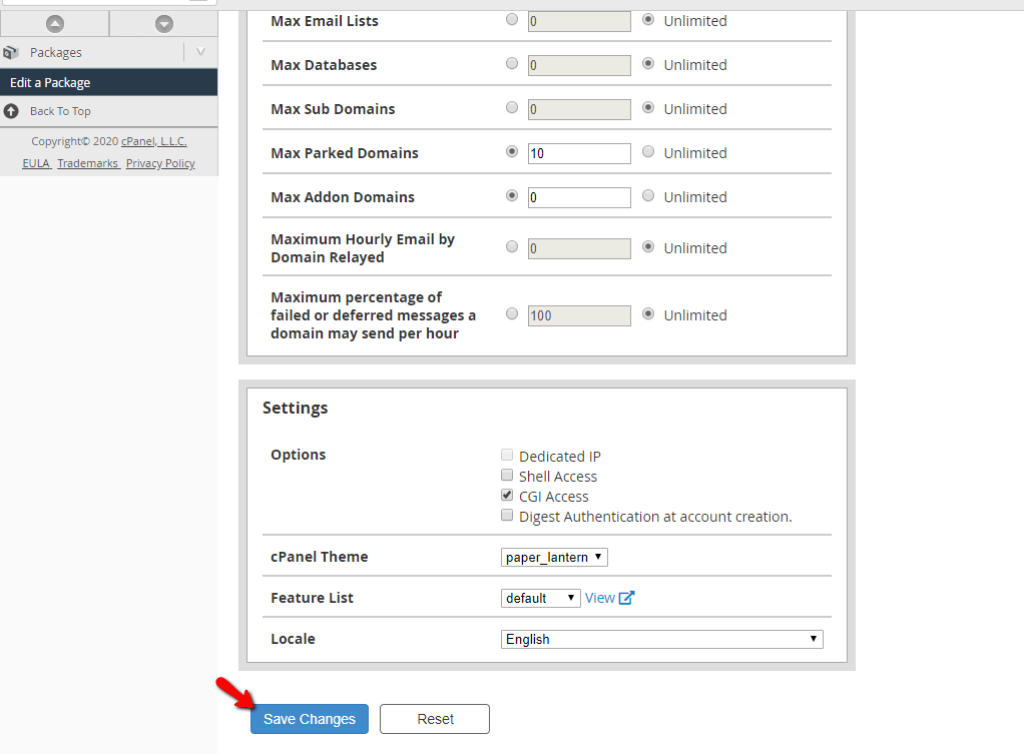
All these modification options are explained in our How to modify cPanel accounts in WHM tutorial under the “Modification process” section. Once you have adjusted the options to your liking you can proceed to the next section, which is called “Settings”.

We will cover what these settings mean below:
- Dedicated IP — This will assign a dedicated IP address to the account and it will not share it with any other account unless specified otherwise. One thing to keep in mind is that this option cannot be changed and a new package needs to be created if you do not want to use it.
- Shell Access — Allows the account to use the SSH protocol and access the server through the terminal or similar programs.
- CGI Access — Allows the account to execute CGI scripts.
- Digest Authentication account creation — Enables Digest Authentication support for Web Disk access over a clear text or unencrypted connection. Users with older Windows Operating systems might need this.
- cPanel Theme — Allows you to select the cPanel theme for the package.
- Feature List — From the dropdown, you are able to apply a feature list, that you can either create yourself or use a default one. The means to do that will be explained later in this tutorial.
- Locale — Select the needed locale from the dropdown.
Delete a Package #
This feature is pretty straightforward. When you wish to delete a package go to the “Packages” category of the WHM control panel and click on “Delete a Package”. You will see the following screen:

In order to delete a package, select it and then click on the delete button, as shown on the screenshot.
Edit a Package #
To access the “Edit a Package” tab, please go to the “Packages” category once again and select it from the menu. You will be presented with a similar screen to the “Delete a Package”, however instead of deleting a package once selected, you will be editing it by clicking on the “Edit” button.

When you have selected the package, click the button in order to proceed to the “Edit” screen. In actuality, this will be a very familiar sight, as it is the exact same page you were looking at when creating a package. After you make the desired changes, proceed to the bottom of the page and click on the “Save Changes” button.
Feature Manager #
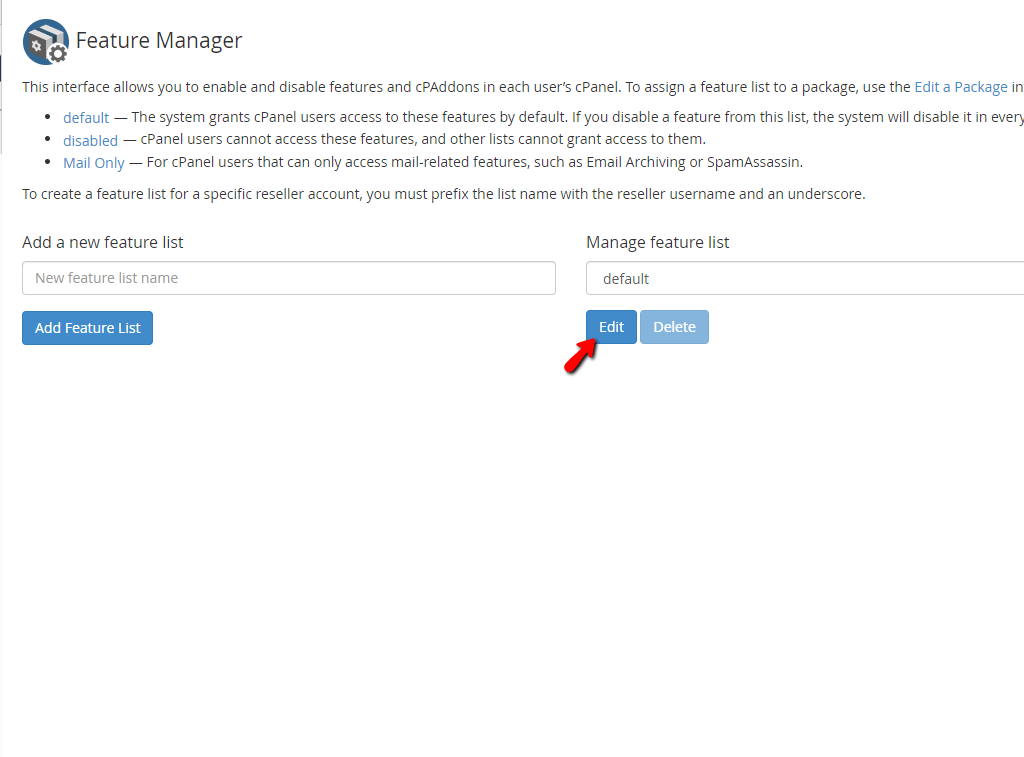
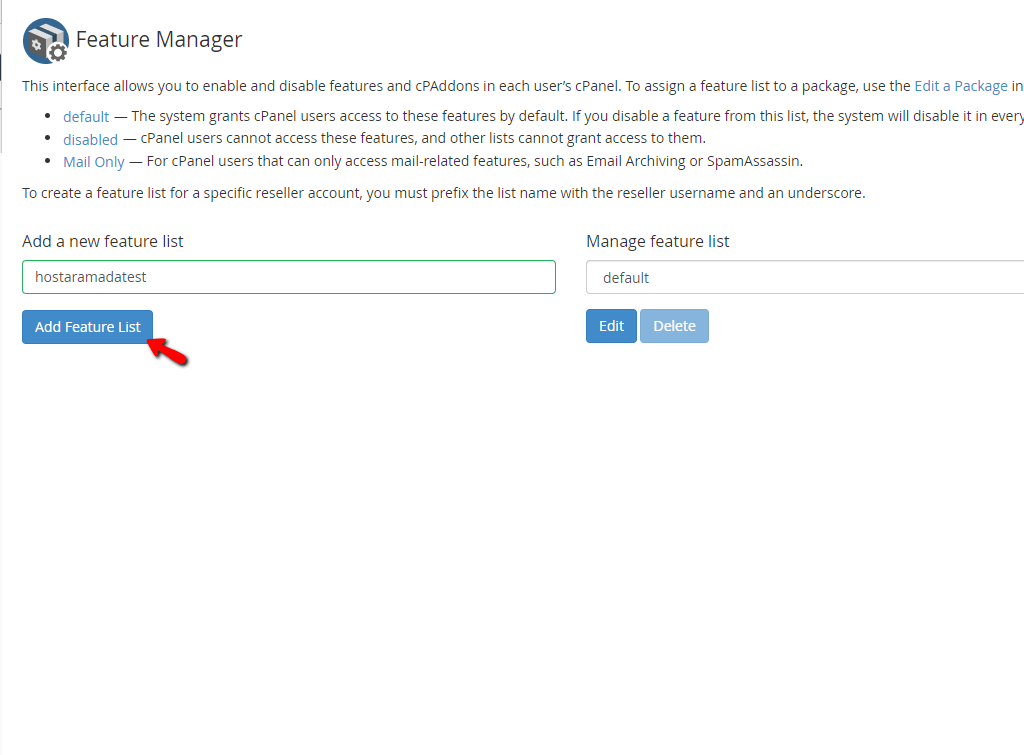
This interface will allow you to edit, delete or add a new list. In order to access this, use the “Packages” tab as we explained earlier, and click on the “Feature Manager” link. By default, you are presented with three premade features:
- default — The default features provided to cPanel users. If you disable a feature from this list, the system will disable it in every cPanel account that utilizes the package associated with this feature list.
- disabled — These functions are completely disabled in cPanel and other lists may not grant usage for them.
- Mail Only — This list is used for accounts that are meant to only use any mail-related features, such as Email Accounts, Email Forwards, Mailing Lists, etc.
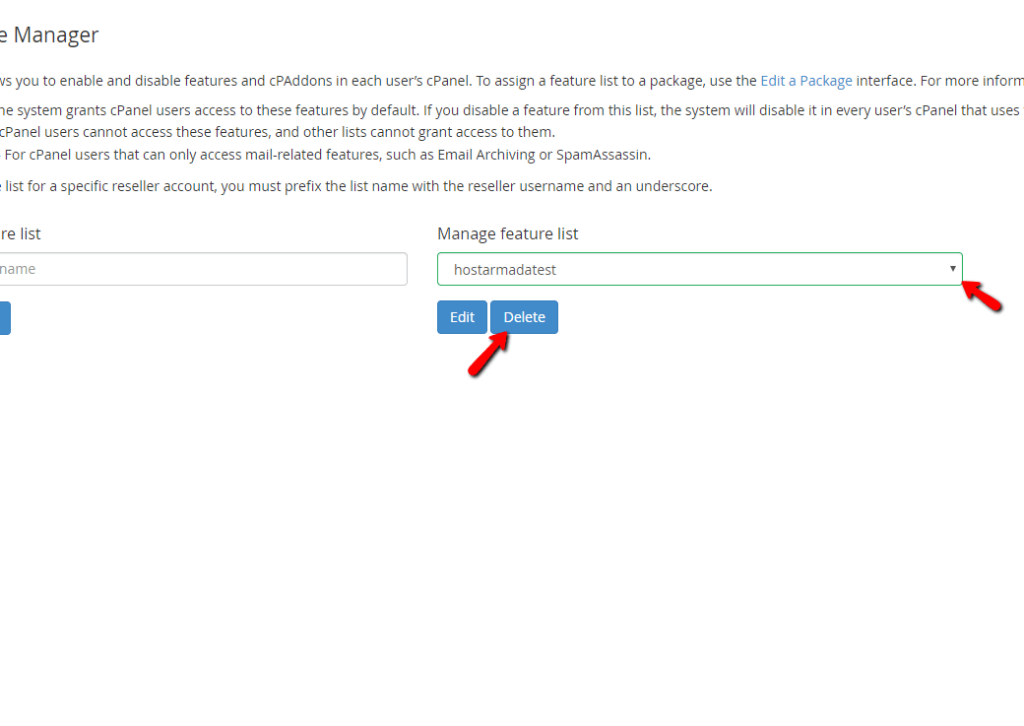
These features can be edited but can not be completely deleted. In order to edit a list, select it from the right dropdown menu and then click the “Edit” button.
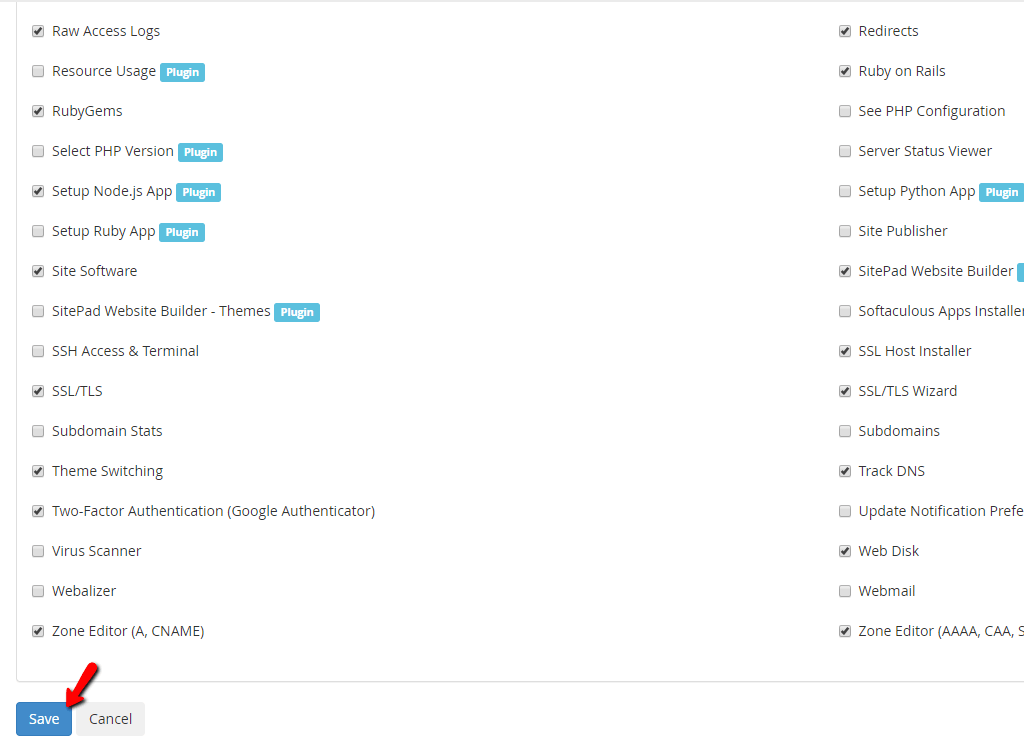
Then you will be redirected to a new page containing a complete list of all the cPanel features that are associated with this feature list.

The available actions you can take with each of these features are to enable or disable those by respectively ticking or unticking the checkboxes displayed right before each one of the features. On the top, you will see an option where you can enable everything for the current list.
If you wish to delete a feature list, please select it from the dropdown menu and then simply click on the “Delete” button.
The last option we will be discussing is the list creation. In order to access that, enter the desired name for the list and then click the “Add Feature List” button which is located right below the text field that you have just used.
When you click it, you will be redirected to a page similar to the one that was discussed in the “Edit” paragraph above. From that section containing all the cPanel features, you can select whichever features you want to enable for accounts or packages. When you are done, proceed to the bottom of the page and click on the “Save” button.
When the feature list is saved, you will be able to use it for an existing package or apply it for new ones.
The WHM has vast typesetting of features and at first, it can seem a bit overwhelming. Not to worry, as we have comprehensive guides on all of its features, which you can browse about in our Getting started with WHM tutorials.
This concludes our guide about the “Packages” functionality of the WHM control panel. We believe we were able to touch upon everything there is for this feature and you should be able to use it with ease. As always, our Technical Support Crew is 24/7 available at your disposal and if you need assistance, please feel free to reach them by submitting a support ticket from your Client Area.


