Introduction #
Before you are entirely ready to publicly display your website, there are a few must-configure WordPress settings. The so-called Reading settings are intended for controlling the appearance of your website. Considering how important this is for the impression you will leave at your visitors, it is worth it to spend a few moments to review the settings we mentioned.
Getting Started #
For a start, please log into your WordPress Admin Dashboard. You can do that by accessing your domain followed by “/wp-admin“, i.e., “yourdomain.com/wp-admin“, where “yourdomain.com” stands for your actual domain name.
Once logged, please navigate through the left-hand side menu bar to Settings > Reading.
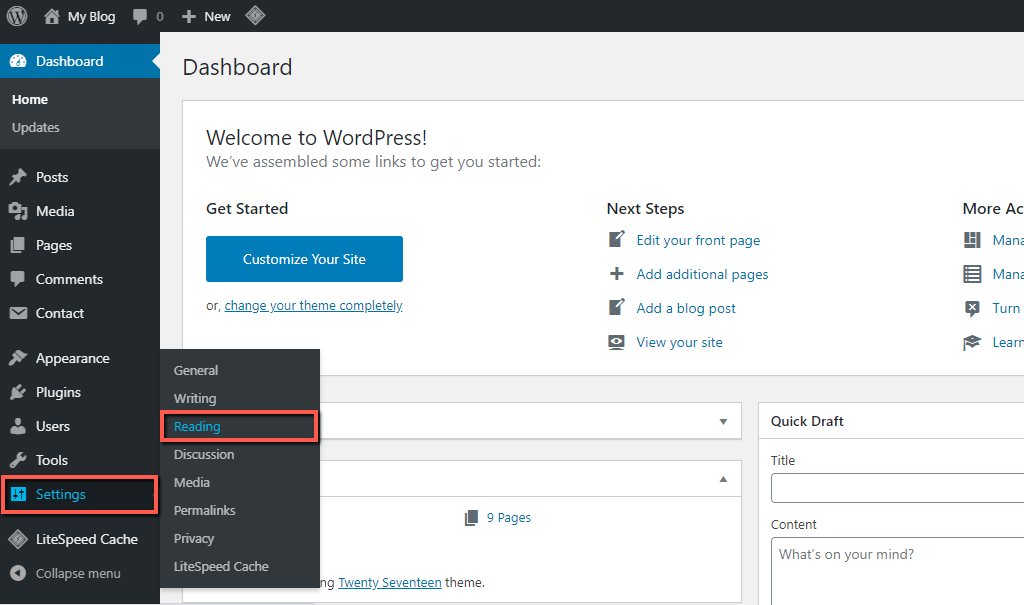
Upon doing that, you will be redirected to the “Reading Settings” section, where you can start the configuration.
Configuring Reading Settings #
Now that you are on the intended page, let’s review all the settings and alter them with the intention to your individual preferences.
Homepage Settings #
The first “Your homepage displays” setting determines the structure of your home page. By default, WordPress shows the first “Your latest posts” option. Considering it is a blogging platform, this is normal, as you would want the newest content to be shown directly on your home page. If you select it, WordPress will display the posts that had been recently published. The second “A static page” option allows you to either use the default homepage of your theme or a custom one. This will be a great choice if you are running a business-oriented website rather than a blog, as you can configure the homepage as desired.
The “Homepage” option will only be available in case you are utilizing a static page as a homepage. From the dropdown menu, you may select any available page created in your WordPress installation to be used as the Home Page of your website.
The same applies to the “Post page” option, but instead, you need to select the general page for all your posts.

Number of Items Displayed #
The “Blog pages show at most” setting allows you to control how many posts to be shown on whichever page you have selected to display your posts on. For example, if you have chosen to display the posts on your “Blog” page, the value entered into the field will determine how many posts to be shown on it.
The “Syndication feeds show the most recent” works pretty much the same way – the value entered determines how many items to be shown. Syndication feed is commonly referred to as RSS feed, and it is a stream of items (posts, comments, etc.), which are updated along with publishing new content items.

Feed Post Display and Search Engine Visibility #
The “For each post in a feed, include” setting applies to the Syndication feed and determines how posts to be displayed in it. Note that if the theme you are using does not support this functionality, you might not see any difference regardless of which option you have selected.
The “Search Engine Visibility” is quite self-explanatory. If you want to restrict Search Engines from indexing your website content, you can tick the checkbox. By default, this setting is disabled, meaning that Search Engines are allowed to index your website. We believe you would like to keep it this way, except in very specific circumstances.
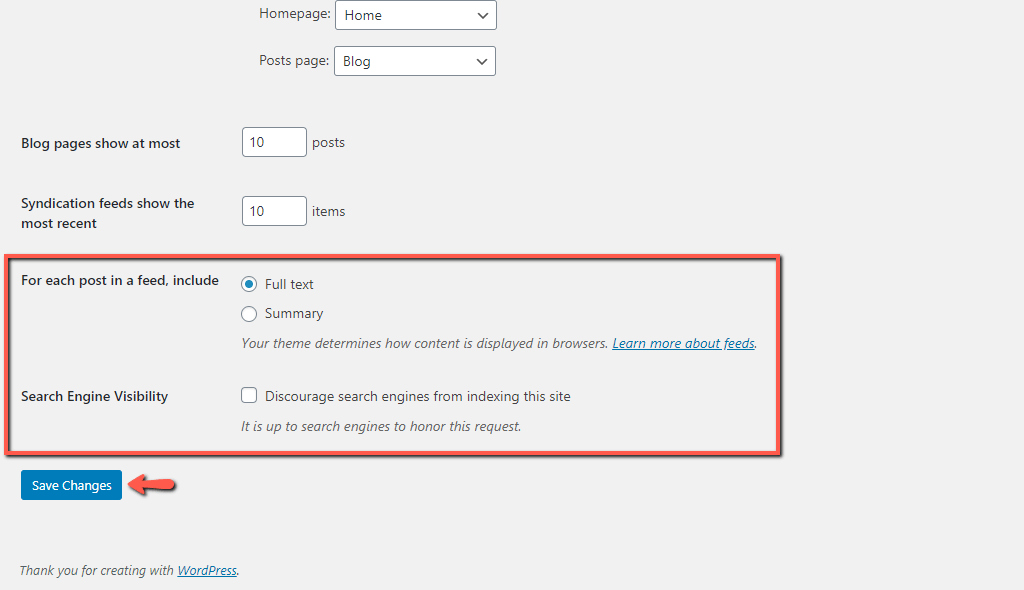
When you perform all desired changes, please make sure to click on the “Save Changes” button to apply them successfully.
With this said, you know how to alter the settings related to the appearance of your WordPress-based website. We hope that after this tutorial, you have managed to set up everything as desired, and this will result in improving your users’ experience.


